Sample Kit - Acoustic Panels
Sample Kit - Acoustic Panels
Test and feel our tiles in your space
Our sample kits are the best way to compare colours, finishes and textures at home before deciding which design is right for your project.
Why Customers Love Our Tiles


Product Description
See the Colours. Feel the Quality. Picture the Finished Wall.
Thinking about adding the warm, modern look of acoustic wall panels to your home, but not sure which colour will work best? Our Acoustic Wall Panel Sample Kit lets you select two different colours and compare them in your own space before choosing panels for your project.
Love the acoustic-panel look, but not the idea of wrestling with huge, heavy panels?
Traditional decorative acoustic panels can be long, bulky and awkward to manoeuvre — particularly when you're renovating your own home. Installation can also involve locating wall studs, drilling, nailing or mechanically fixing large panels into place.
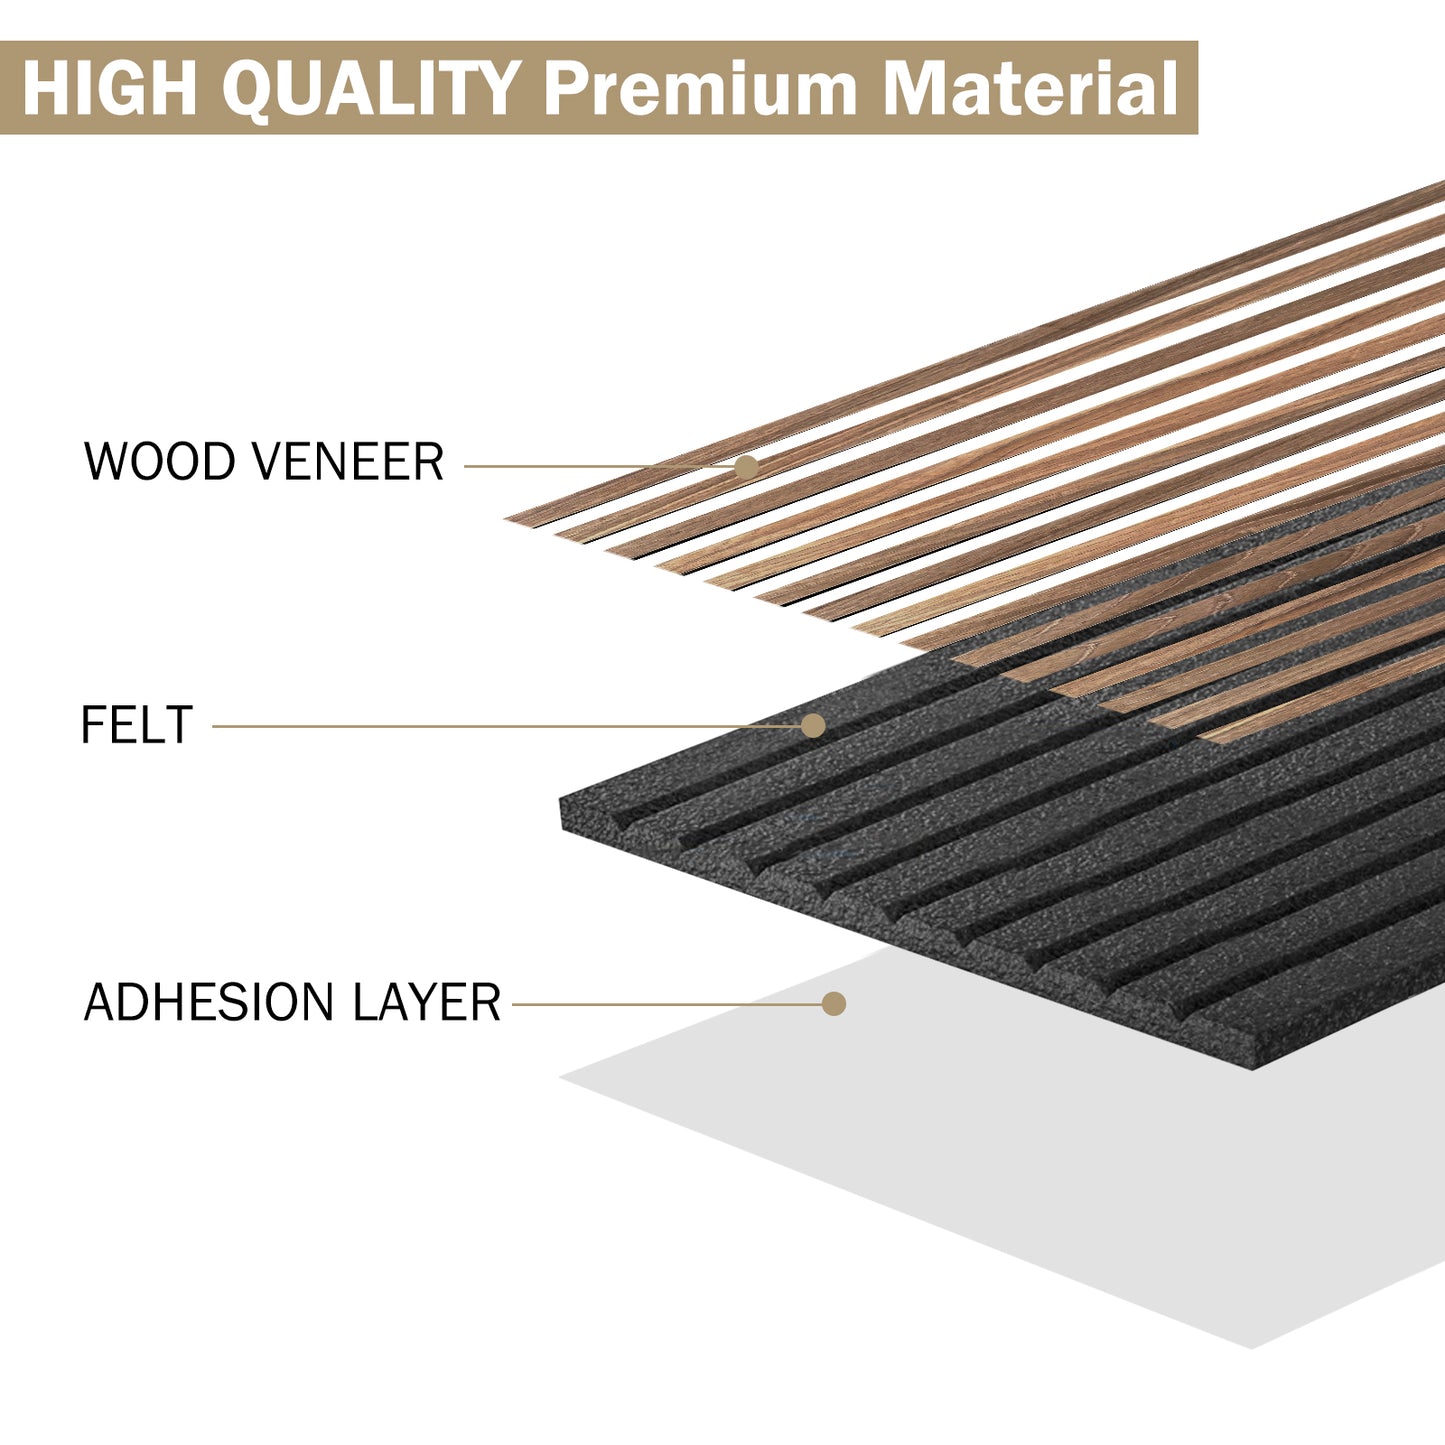
Our Acoustic Wall Panels were selected with DIY renovators in mind. They're lightweight, compact and feature a self-adhesive backing, giving you a much more approachable way to create the warm slatted-wall look yourself.
A Wall Panel You Can Actually Handle Yourself
Instead of starting with an extra-long, heavy panel that's difficult to carry through the house and position on the wall, our panels measure a much more manageable 120cm × 60cm. That smaller format makes them easier to lift, position, line up and work with — particularly when you're completing the project yourself.
Why Order an Acoustic Panel Sample Kit First?
Wall panels cover a large visual area, so choosing the right timber tone or colour can completely change the finished room.
ADHESIVE
No Hunting for Studs Just to Create a Feature Wall
Our panels include a self-adhesive backing, removing much of the installation complexity associated with traditional large acoustic wall panels. Prepare a suitable wall surface, position your panels carefully and install them without needing to mechanically fix every panel through to wall studs.
Why 120cm × 60cm Panels Make DIY So Much Easier
Larger isn't always better when you're the one carrying and installing the product. The practical panel size is one of the biggest advantages of our range for home renovators.
Having Trouble Deciding? That's Exactly What the Sample Kit Is For.
Choose two different Acoustic Wall Panel colours and compare them in the room where your finished feature will be installed.
You may find a lighter timber makes the room feel larger and more relaxed, while a darker finish creates stronger contrast and a more dramatic architectural feature.
Seeing both options in your actual room makes the decision much easier.
Take Your Samples into the Room
Timber tones can change dramatically depending on the lighting and other finishes around them.
Picture the Finished Feature
Acoustic Wall Panels can add warmth, vertical texture and architectural character across a wide range of interior spaces.
Choose two colours, compare them in your own space and experience the product for yourself — then move forward with your acoustic wall-panel project knowing you've chosen the finish that works best in your home.
What you’ll need
- Cutting surface (e.g. thick cardboard or scrap timber)
- Ruler
- Stanley knife (fresh blade) or sharp scissors
- Pencil
- Cleaning agent (sugar soap or mild dishwashing liquid)
- Cleaning cloth & bucket of warm water
- Fine sandpaper (to key glossy/painted surfaces)
Step-by-step
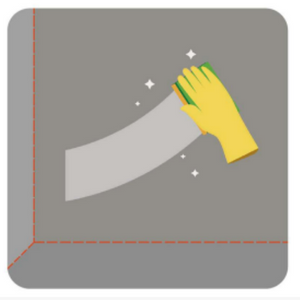
Remove dust, grease and debris using a gentle cleaner (sugar soap works well). Rinse and allow to dry completely before installing.
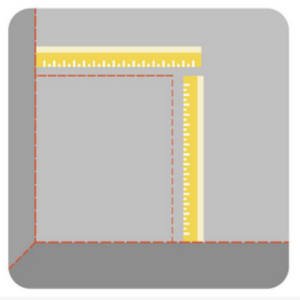
Confirm quantities, choose your layout/direction and mark a straight baseline. Measure twice to avoid cutting errors.
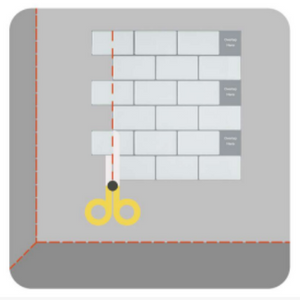
On a safe cutting surface, use a sharp knife and ruler to trim to size. Start from a straight reference edge for a consistent finish.
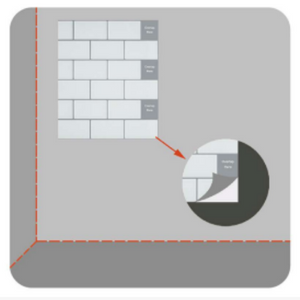
Partially peel the adhesive film, align carefully to your baseline, then press from the centre outwards to bond and remove bubbles.
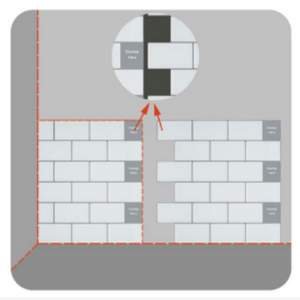
Match pattern and grout lines sheet-by-sheet for a seamless look. Keep off-cuts for infills and smaller gaps.
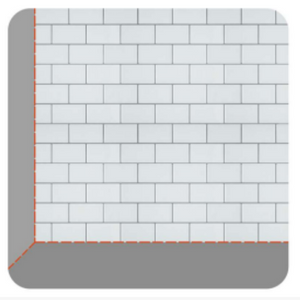
For a pristine result, run a bead of silicone (matching the grout colour) along exposed edges and corners.
Bathrooms & wet areas
Vinyl and Composite tiles are water-resistant and ideal for splashbacks, laundries and bathroom features. For areas with direct water exposure (e.g. shower recesses), add extra waterproofing by sealing all edges and corners with silicone, and filling joins or bevels with silicone or an epoxy grout.
Wipe with a soft cloth and mild detergent. Avoid harsh chemicals or abrasive tools. Designed for indoor use and smooth, sound surfaces.
We ship Australia-wide and to New Zealand. Standard delivery is 3–6 business days, with an express option available at checkout.
📦 Free Pick-Up Available: You can collect your order directly from our Warehouse in Geebung, Brisbane at no cost. Simply select this as your shipping option during checkout, and we’ll then contact you to arrange a convenient date and time for you to collect your items.
Returns
All products can be returned within 30 days of purchase for either an exchange or a full refund of the product price. Returned items must be in “as new” condition and in their original packaging. Items showing signs of wear or missing packaging will not be accepted for refund. Once received and assessed, your refund will be issued.
All return shipping costs are the responsibility of the customer. Returned items must be shipped to Geebung(4034), QLD.
Flexible Wood Roll Returns
Due to the size and custom packaging of our Flexible Wood Roll products, a 15% restocking fee applies for change of mind, colour preference, or suitability. Return shipping remains the customer’s responsibility. Refunds (less restocking fee) are processed within 3–5 business days of the item being received and confirmed in resellable condition.
Exchanges
If your item isn’t quite the right fit, we’re happy to offer an exchange within the same product range. Any price differences will be invoiced to the customer. Exchange shipping costs are the responsibility of the customer. Returned items must be shipped to Virginia (4014), QLD.
What are Peel and Stick on Tiles?
Peel and stick on tiles are self adhesive tiles that are designed to be installed over existing tiles or other surfaces. They require no grout, are easy to clean, are inexpensive and can dramatically makeover your kitchen, bathroom or laundry with little effort.
What is the difference between Composite and Vinyl Tiles?
Our Composite and Vinyl Stick on Tiles offer a range of styles, colours and finishes to revamp your project space. The Composite Tiles are made from PVC materials with a laminate finish measuring 4mm in thickness. The Vinyl Tiles have a glossier finish and are 2.5mm in thickness. Both are incredibly realistic and easy to install, requiring a sharp stanely knife (and some silicone for a high quality finish) to complete your DIY project.
What surfaces can I use Stick on Tiles on?
Existing tiles, gyprock, glass, painted walls, acrylic, stainless steel, aluminium or plastic surfaces. Just make sure the surface is clean and dry before installation
What dimensions are the Stick on Tiles?
Each design does vary in size, be sure to read the product information for each tile to confirm its dimensions before ordering.
Can I use Stick on Tiles in wet areas such as showers?
Our Vinyl and Composite tile ranges are water-resistant, making them suitable for bathroom walls, splashbacks, splash zones, kitchens and laundry rooms. However, they are not designed for continuously wet areas or locations exposed to direct and ongoing water, including inside shower enclosures.
While some customers have successfully installed these products in wet areas, installation inside a shower enclosure is outside the intended application of the product and is not covered by our voluntary product warranty.
Can I use Stick on Tiles on floors?
We do not recommend you use our Vinyl or Composite Wall Tiles for flooring as we cannot guarantee the longevity of the products on these high traffic surface, however we do have a range of Vinyl Floor Tiles!
Can I remove the Stick on Tiles?
Yes the tiles can be removed in the future, however, may leave adhesive residue or lift some paint off in the removal process. We recommend you first heat up the adhesive glue using a hair dryer and then slowly peel them off.
Is it safe to use Stick on Tiles behind the stove / hot plates?
We recommend allowing at least 30 cm of space from the centre of the back stove top burner to the splashback area when installing Stick on Tiles. This is to ensure safe installation and to prevent any heat/flame-related damage.
How many sheets of tiles will I get?
We sell all our tiles by the sheet. The dimensions listed on each product are for a single sheet. The below graphic further explains this.

Still cant find the answers to your questions? Reach out to us: info@stickontiles.com.au