How to Install Vinyl Wraps
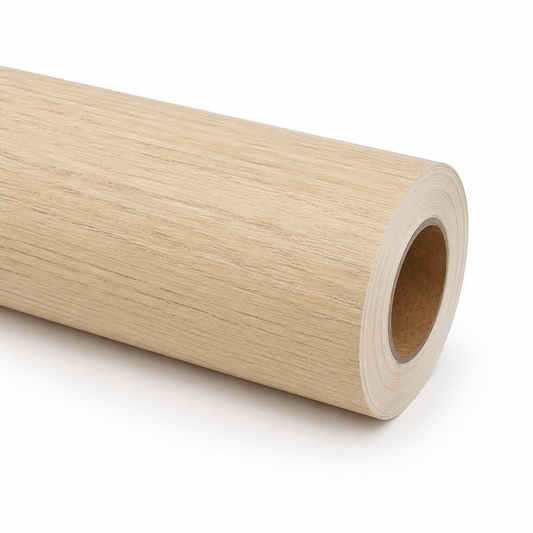
Our Vinyl Wraps are perfect for creating a seamless, stylish look on walls, furniture, cabinetry, splashbacks and more. Each wrap features a premium peel-and-stick backing designed for easy DIY installation — no tools, no mess, no fuss.
What You’ll Need
- Ruler or tape measure
- Sharp scissors or Stanley knife (ideally new)
- Pencil
- Cleaning agent (sugar soap or dishwashing liquid)
- Cleaning cloth
- Bucket of warm water
- Squeegee or credit card (for smoothing)
- Heat gun or hair dryer (optional, for curved surfaces)
Before You Start
Installation is simple, quick and perfect for DIY lovers — no need for saws, drills, nails or screws. Ensure the surface is clean, dry and free from dust, grease or moisture before you begin, and that it is smooth and non-porous for best adhesion.
Avoid installing in very cold conditions as this can affect adhesion. For best results, install at room temperature (18–25°C).
Step-by-Step Installation Guide
Follow these simple steps to enjoy your new look in no time.
Prepare Your Surface
Ensure the surface is clean, dry, and free from dust, grease, or moisture. Wipe down with sugar soap or dishwashing liquid and allow to dry completely. For best adhesion, surfaces should be smooth and non-porous.
Measure & Cut
Measure your surface area carefully and mark your cut lines with a pencil. Use a sharp Stanley knife or scissors to cut your Vinyl Wrap to size. Always cut on a flat, protected surface.
Peel & Apply
Starting from one edge, carefully peel back a small section of the backing paper. Align the wrap to your surface and press firmly into place. Slowly peel away the remaining backing as you smooth the wrap down, working from the centre outward to avoid air bubbles.
Smooth & Secure
Use a squeegee or the edge of a credit card to firmly smooth out any air bubbles or creases. Work from the centre outward in firm, even strokes. For corners or curved surfaces, a heat gun or hair dryer on a low setting can help the wrap conform to the shape.
Trim & Finish
Trim any excess wrap neatly along edges using a sharp Stanley knife and ruler for a clean, professional finish. Press all edges down firmly to ensure full adhesion.
Care & Maintenance
Vinyl Wraps are water-resistant and easy to clean. Simply wipe down with a damp cloth. Avoid abrasive cleaners or harsh chemicals that may damage the surface finish.
Ready to Give Your Space a Vinyl Wrap Makeover?
Update cabinets, benchtops, furniture and more with an easy peel-and-stick finish — no tools, no mess, no fuss.
Shop Adhesive Vinyl Wraps-
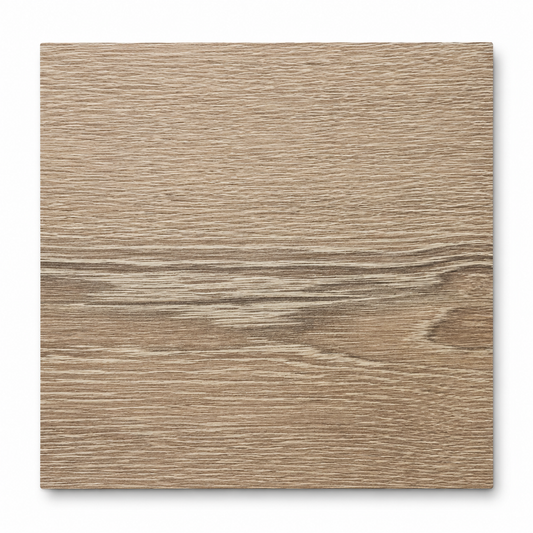
Sample Kit - Adhesive Vinyl Wraps
Regular price $9.95 AUDRegular price -
Adhesive Vinyl Wrap - Natural Oak Timber
Regular price $125.00 AUDRegular price -
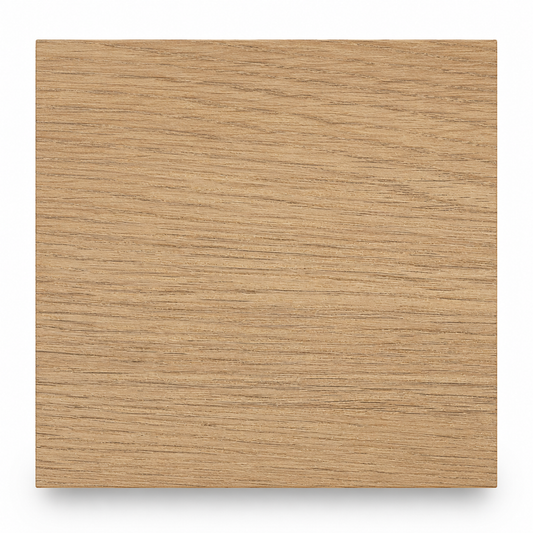
Adhesive Vinyl Wrap - Oak Timber
Regular price $125.00 AUDRegular price -
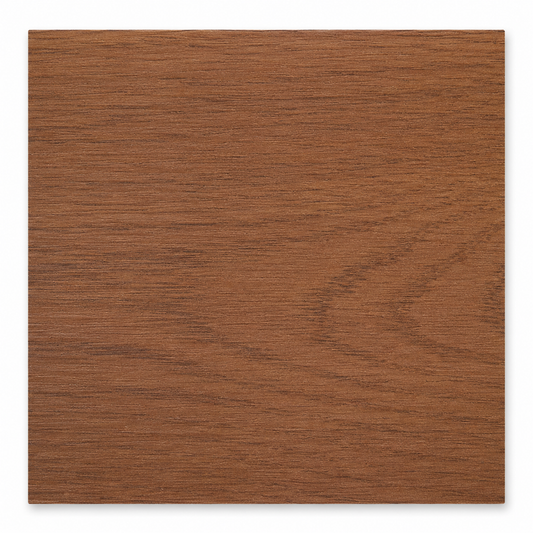
Adhesive Vinyl Wrap - Walnut Timber
Regular price $125.00 AUDRegular price