

Installation Guide - Acoustic Panels
-
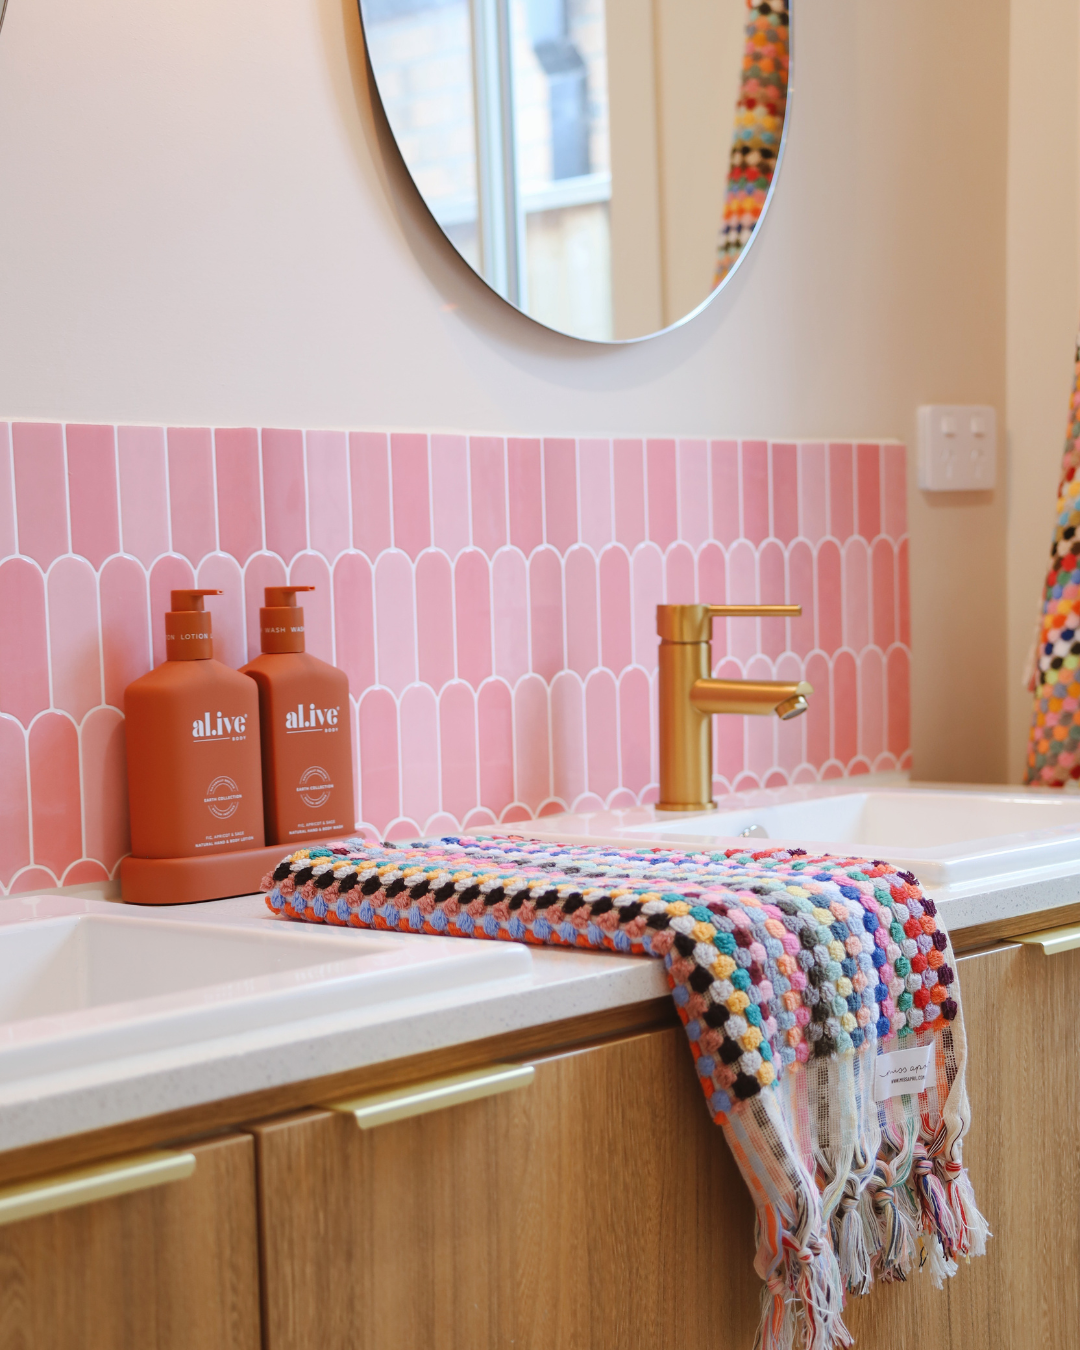
Vinyl & Composite Wall Tiles
Discover our exclusive range of custom-designed Peel & Stick Tiles in vinyl...
-
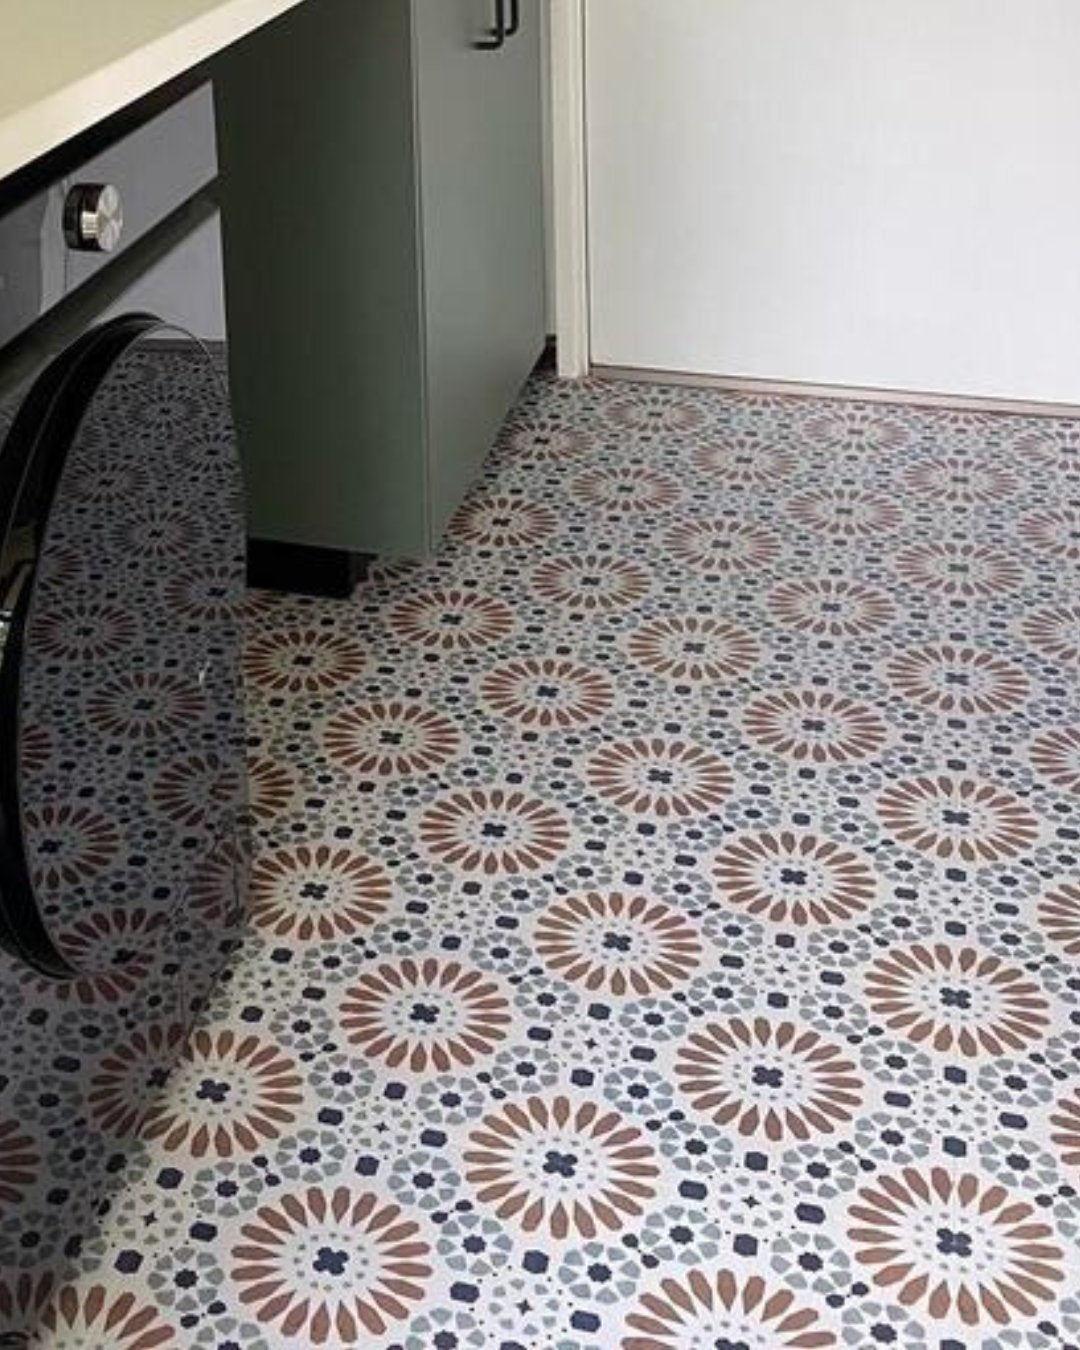
Vinyl Floor Stick on Tiles
Our Vinyl Floor Stick On Tiles are made from durable PVC, offering...
-
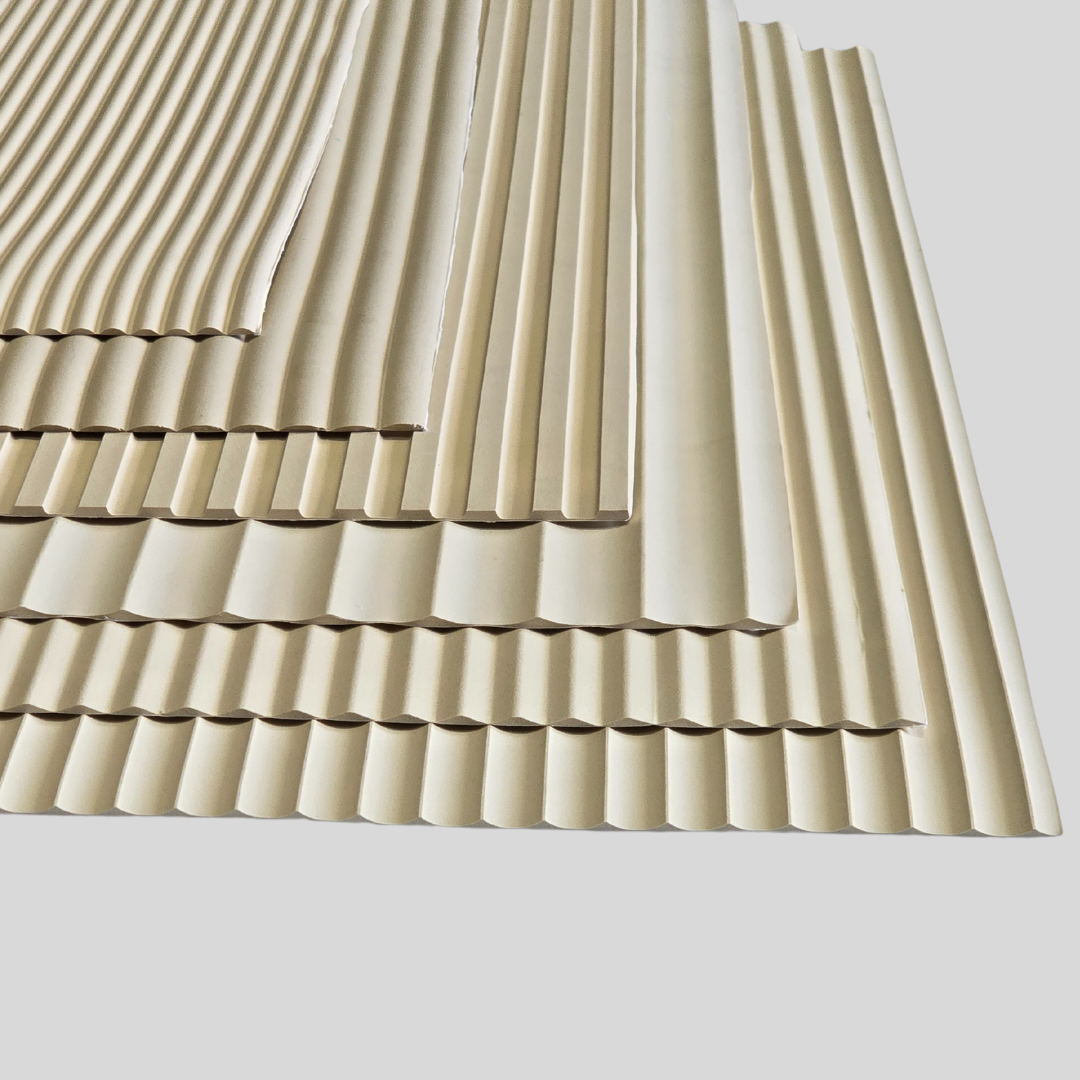
Flexible Wood Rolls
A range of stunning design profiles to suit any project. Sculpted using...
-
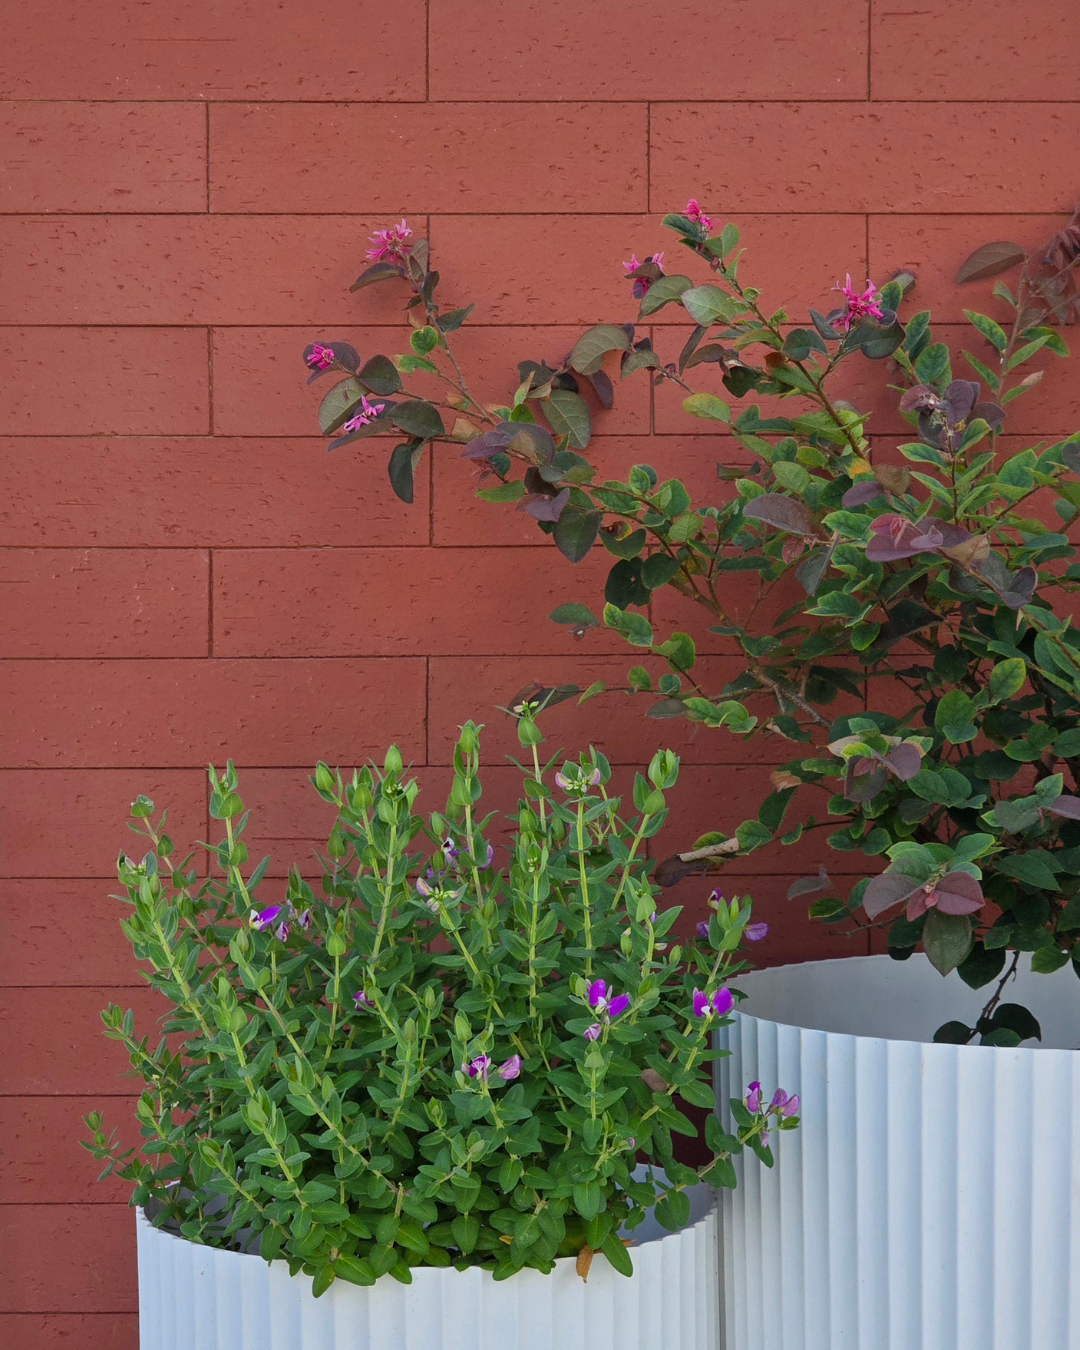
Outdoor Range
Flexible Stone Tiles & Brick FacingRedefine your outdoor spaces with the perfect...


