Installation Guide - Vinyl Floor Tiles
Installation is simple, easy and perfect for DIY lovers. No need for a Tiler, grout or any expensive tile cutting tools. There's no need to fill any existing grout lines either, all our peel & stick flooring range is designed to go straight over any grout your current floor may have. Just follow the installation guide and enjoy that new designer tile look in no time.
Things you will need:
- Cutting Surface (thick cardboard or scrap piece of wood)
- Ruler
- Stanley Knife (use a fresh blade)
- Pencil
- Cleaning Agent (sugar soap or dishwashing liquid)
- Cleaning Cloth
- Bucket of Warm Water
- Fine Sandpaper (as needed, depending on surface)
- Silicone or Caulk (for edges)
Thinking of installing our Vinyl Floor Tiles on a wall or splashback?
Whilst our floor tiles come with an adhesive backing for convenient installation on horizontal flat surfaces, certain situations may require a stronger adhesive or spot fixes for optimal performance, such as a wall/splashback. In these cases, we recommend this solvent-free, water-based adhesive. It provides strong bonding power, is low in odour, and is easy to clean up. Designed specifically for vinyl tiles and flooring, it works effectively on timber, concrete, and fibre-cement surfaces, ensuring a secure and lasting finish.
Selleys 500ml Kwik Grip Horizontal Contact Adhesive
Step by Step Guide
-

Step 1 - Clean the Surface
To ensure the tile adhesive sticks to your projects surface wipe the area clean with a gentle cleaning agent to remove any dirt, dust or debris. Wait for the area to be touch dry before proceeding to the next step.
-
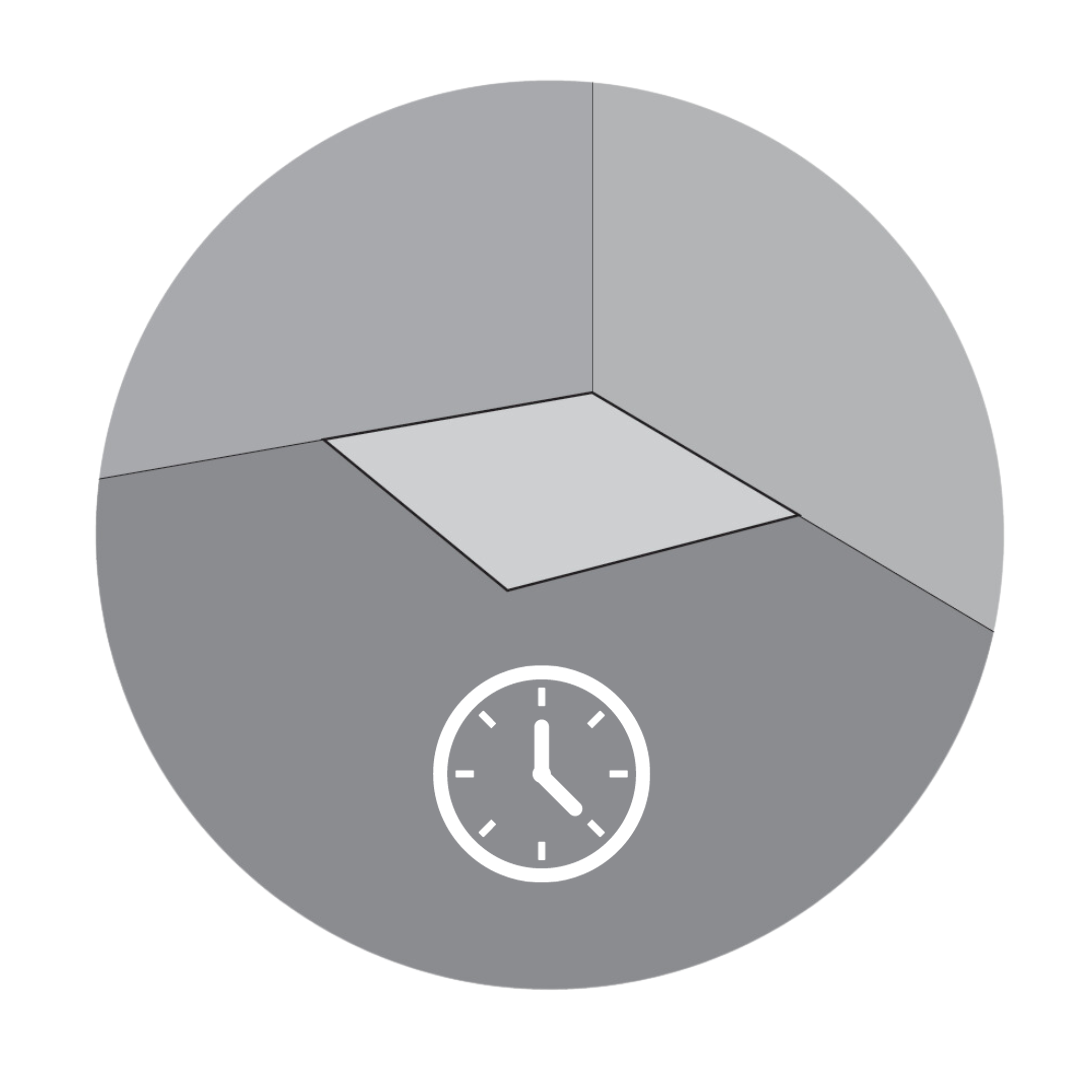
Step 2 - Acclimate the Tiles
Allow the vinyl tiles to acclimate to the room's temperature and humidity for at least 48 hours. This helps prevent issues like expansion or contraction after installation.
-
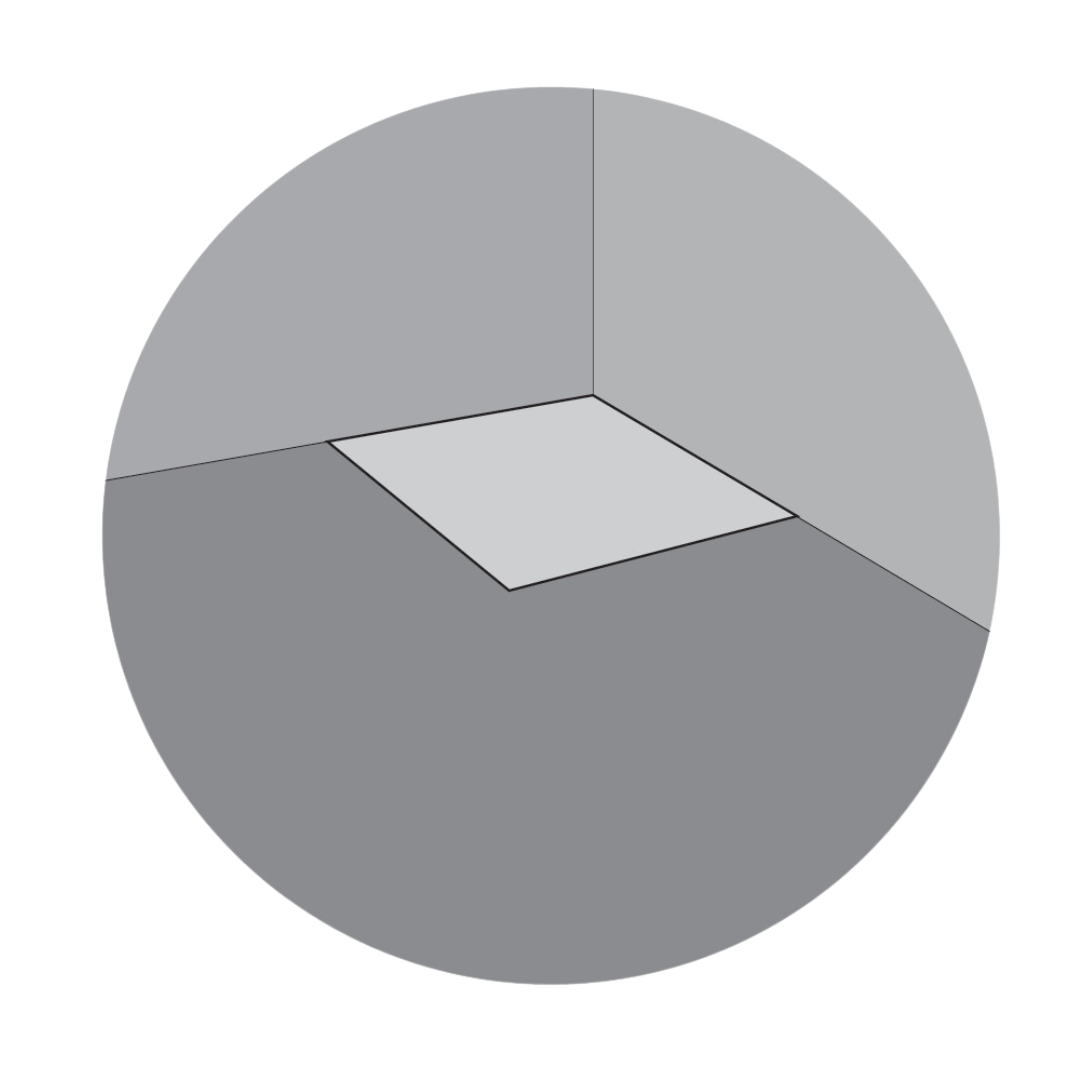
Step 3 - Lay First Tile Sheet
Starting in the corner of the longest wall, peel back the film and place the first tile sheet on the floor. Once applied use your hand to firmly press sheet onto the floor for optimum adhering.
-
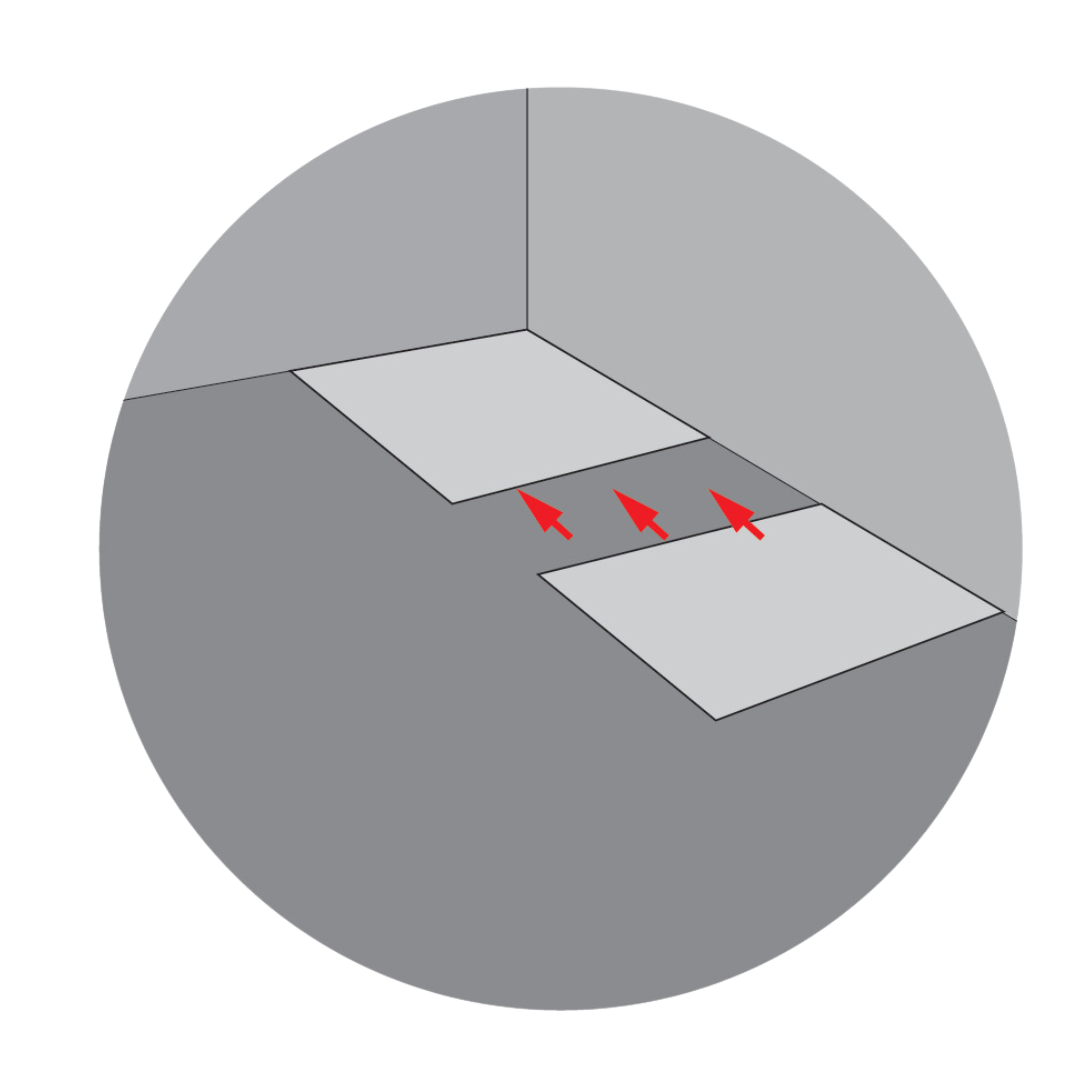
Step 4 - Continue Laying Tiles
Continue to install tiles in rows, working your way outward, and use a straight edge or your hands to ensure they are firmly pressed down with no air bubbles or gaps.
-
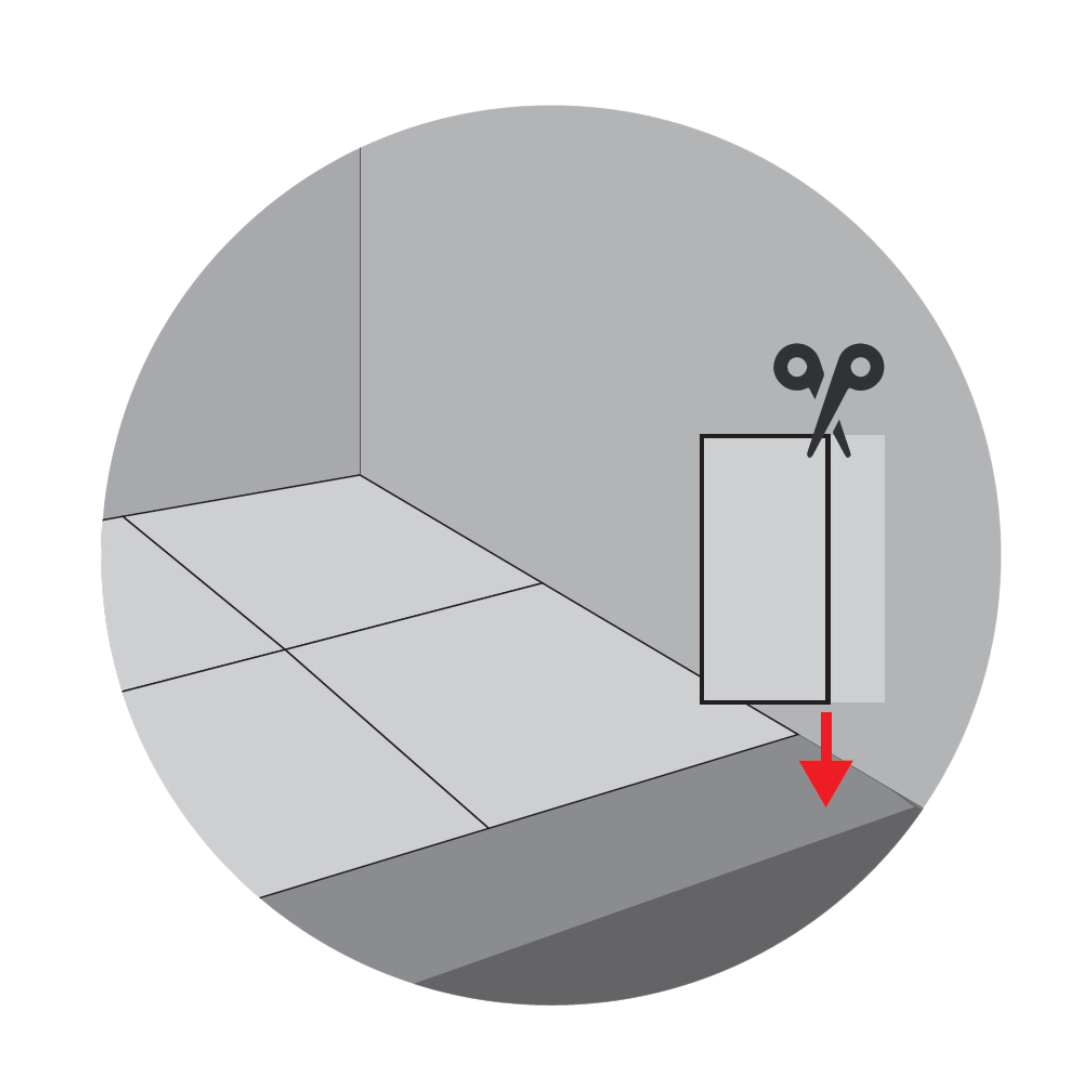
Step 5 - Cutting Tile
When you reach the edges of the room, you'll likely need to cut tiles to fit. Measure and mark the tiles that need cutting, and use a stanley knife to make precise cuts.
-
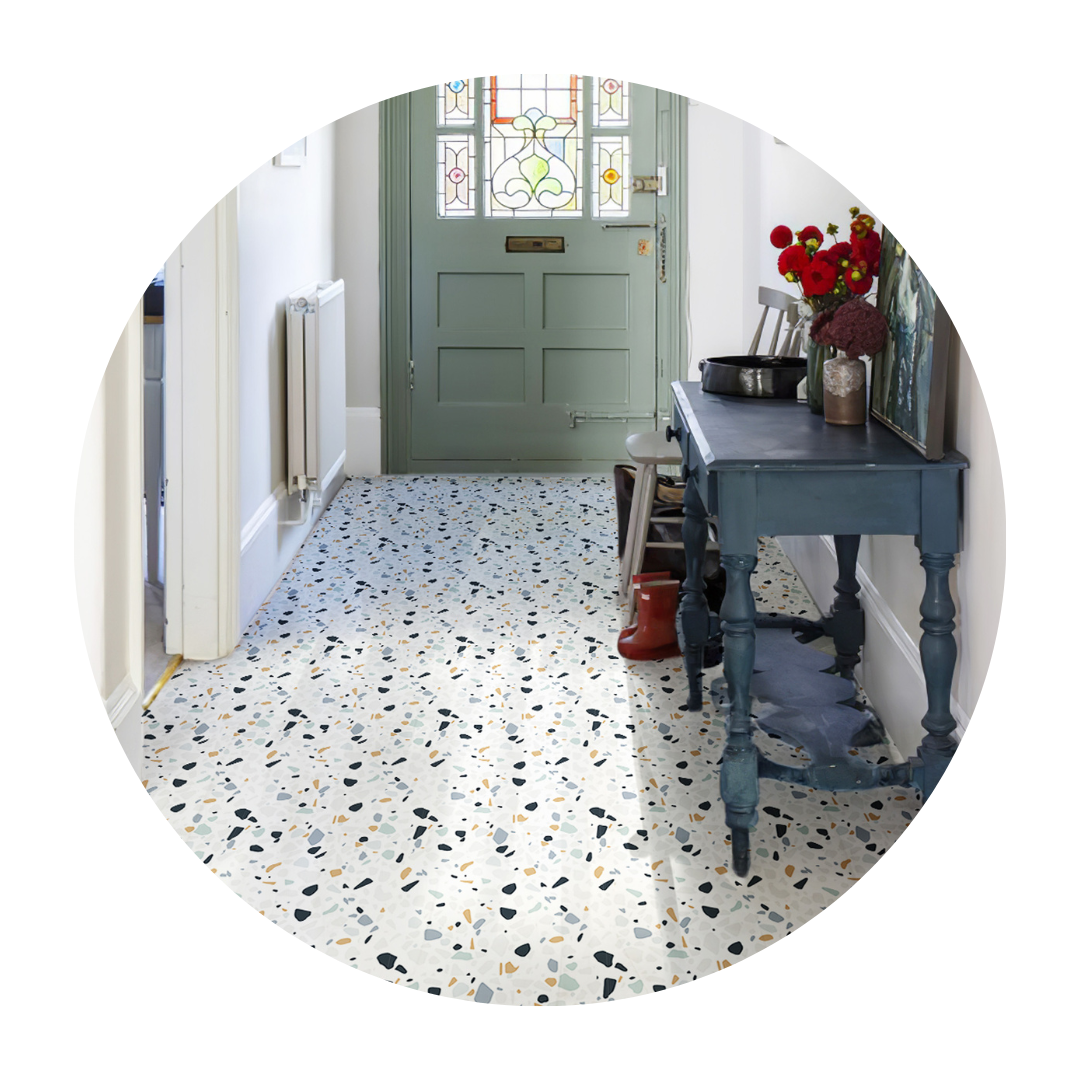
Step 6 - Fit and Finish
Ensure the cut tiles fit snugly against walls and in corners. Use a stanley knife to make any small adjustments as needed. Continue installing tiles until you've covered the entire floor, ensuring a tight fit between tiles.
-
Don't forget to take plenty of photos and share!
#stickontiles
Our Vinyl Floor Range
-
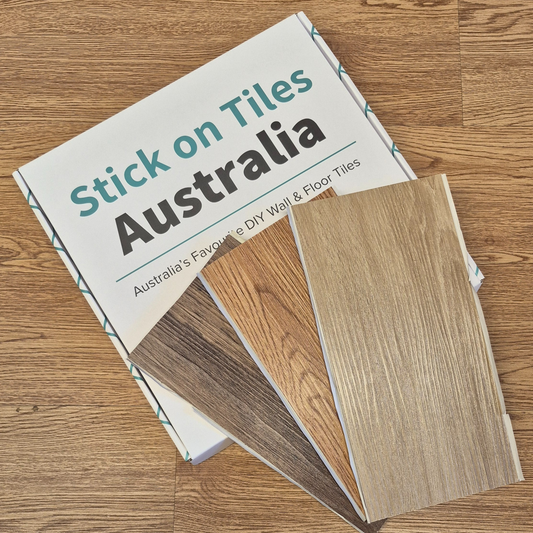
Sample Kit - Vinyl Floor Tiles
4.85 / 5.0
(13) 13 total reviews
Regular price $19.95 AUDRegular price -
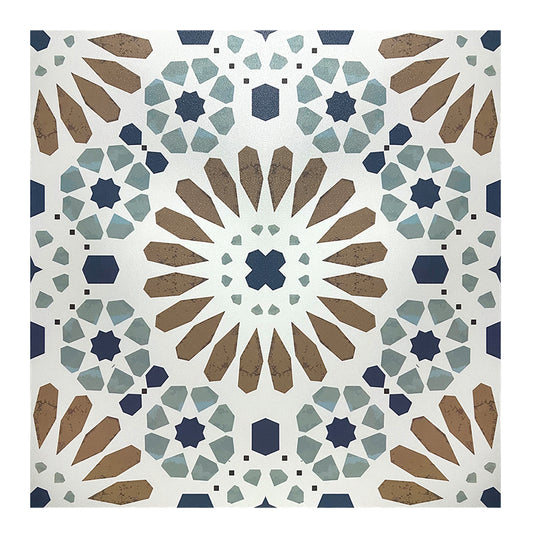
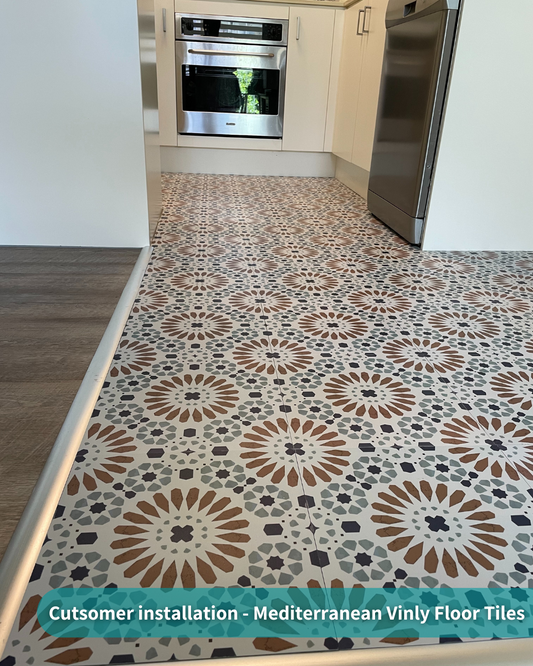
Vinyl Floor Stick on Tile - Mediterranean
4.2 / 5.0
(5) 5 total reviews
Regular price From $9.00 AUDRegular price -
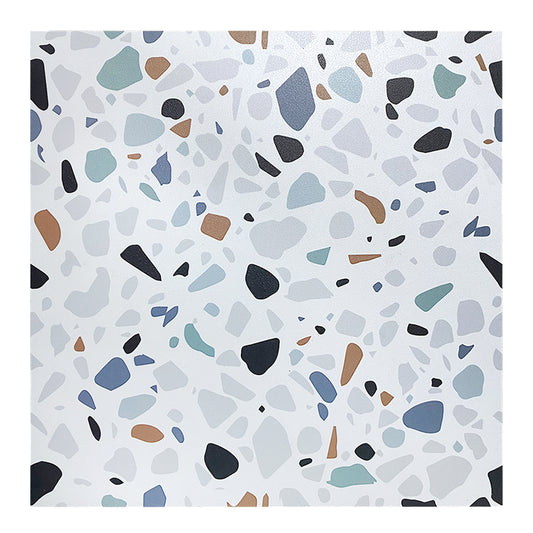
Vinyl Floor Stick on Tile - Terrazzo
4.75 / 5.0
(8) 8 total reviews
Regular price From $9.00 AUDRegular price -
Vinyl Floor Stick on Tile - Black & White Star
4.75 / 5.0
(4) 4 total reviews
Regular price From $9.00 AUDRegular price$0.00 AUDSale price From $9.00 AUD


