

Installation Guide - Wood Roll
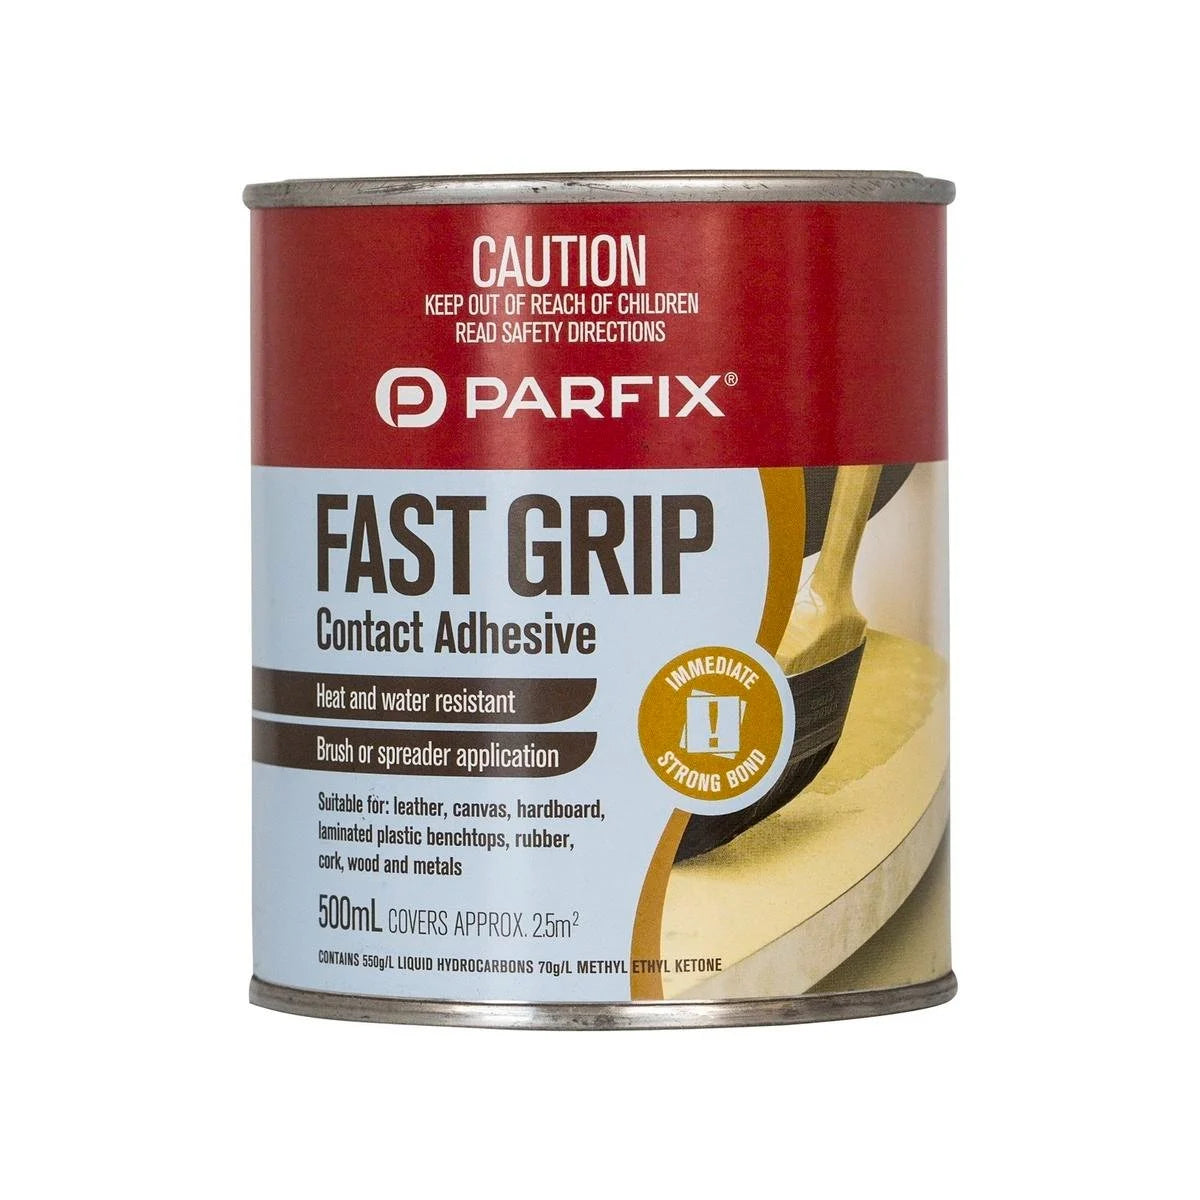
Parafix Fast Grip
Recommended for use with our Wood Roll products.
A versatile, high-strength adhesive ideal for a wide range of surfaces. Parafix Fast Grip is waterproof and heatproof, making it perfect for projects exposed to moisture or high temperatures. It provides a strong, durable bond and is suitable for timber, plasterboard, MDF, particleboard, masonry, concrete, tiles, ceramics, metals, and glass. Available at Bunnings.
Step by Step Guide
-

Step 1 – Let the Roll Relax
After unwrapping your Flexible Wood Roll, lay it flat and allow it to relax. If it holds a curled shape, especially in cooler temperatures, gently warm it using a hair dryer or heat gun. This will soften the material and help it settle for easier installation.
-

Step 2 – Clean the Surface
Give your installation area a thorough clean with sugar soap and warm water. Let it dry completely before continuing to ensure the adhesive bonds well.
-

Step 3 – Measure
Measure your space to confirm you have the right amount of wood roll to complete the project. Then measure and mark up with a pencil where you will need to cut
-

Step 4 - Cut
Remember to measure twice cut once!
Using a sharp pair of scissors or stanley knife cut along the Wood Roll in the desired direction for your project.
-

Step 5 - Check
Check that your wood roll piece will fit the space you want to adhere it to. Simply hold it up against the surface and re- confirm it is the right fit. A light sanding may be required for any exposed or rough-cut edges.
-

Step 6 - Apply Adhesive
Apply a generous layer of contact adhesive to the backing of the Wood Roll. For best application ensure an even spread of the adhesive reaching all the edges of the roll.
-

Step 7 - Apply to Surface
Apply the wood roll to the surface pressing firmly across all sections. Ensure that the wood roll has been pressed against the surface to allow the glue to adhere. We recommend holding pressure for a few minutes to ensure it gets a good hold to the surface.
-

Step 8 – Paint or Stain
Either paint or stain your Wood Roll to complete the look. A light surface sanding is recommended for best results. Apply two coats of paint or stain to the wood roll in your desired colour. For a professional finish caulk or silicone any joins on walls or gaps as required.
-

Step 9 – Enjoy!
Depending on the area the Wood Roll has been installed you may want to apply a layer of clear topcoat/sealer to complete the installation however this is not required.
Otherwise enjoy the completed installation and admire how this addition has enhance the look and feel of the space.


