
Outdoor Products perfect for any DIY'er, No Tradies needed!
Weather Proof - Water Proof - Heat Proof
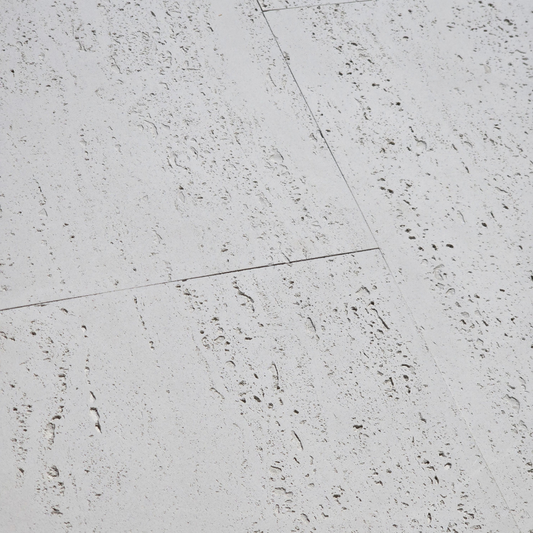
Installation Guide - Soft Stone & Brick Facings
Why Wait? Transform Your Outdoor or Indoor Space Today
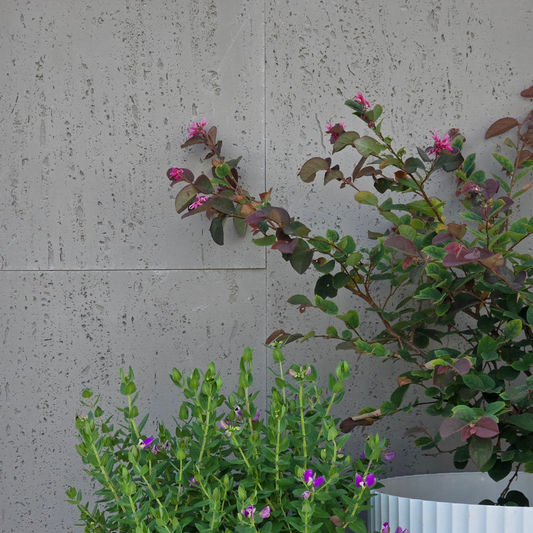
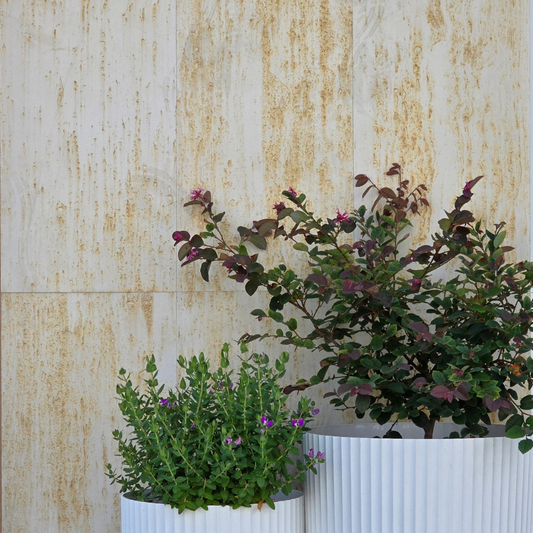
With flexible travertine stone tiles and brick facings, you can achieve the natural beauty of stone and brick in your home or outdoor spaces with ease. The simple installation process allows for a seamless upgrade to your walls, facades, patios, or garden features, with minimal effort and hassle. Enjoy the timeless elegance of your newly transformed space!
-
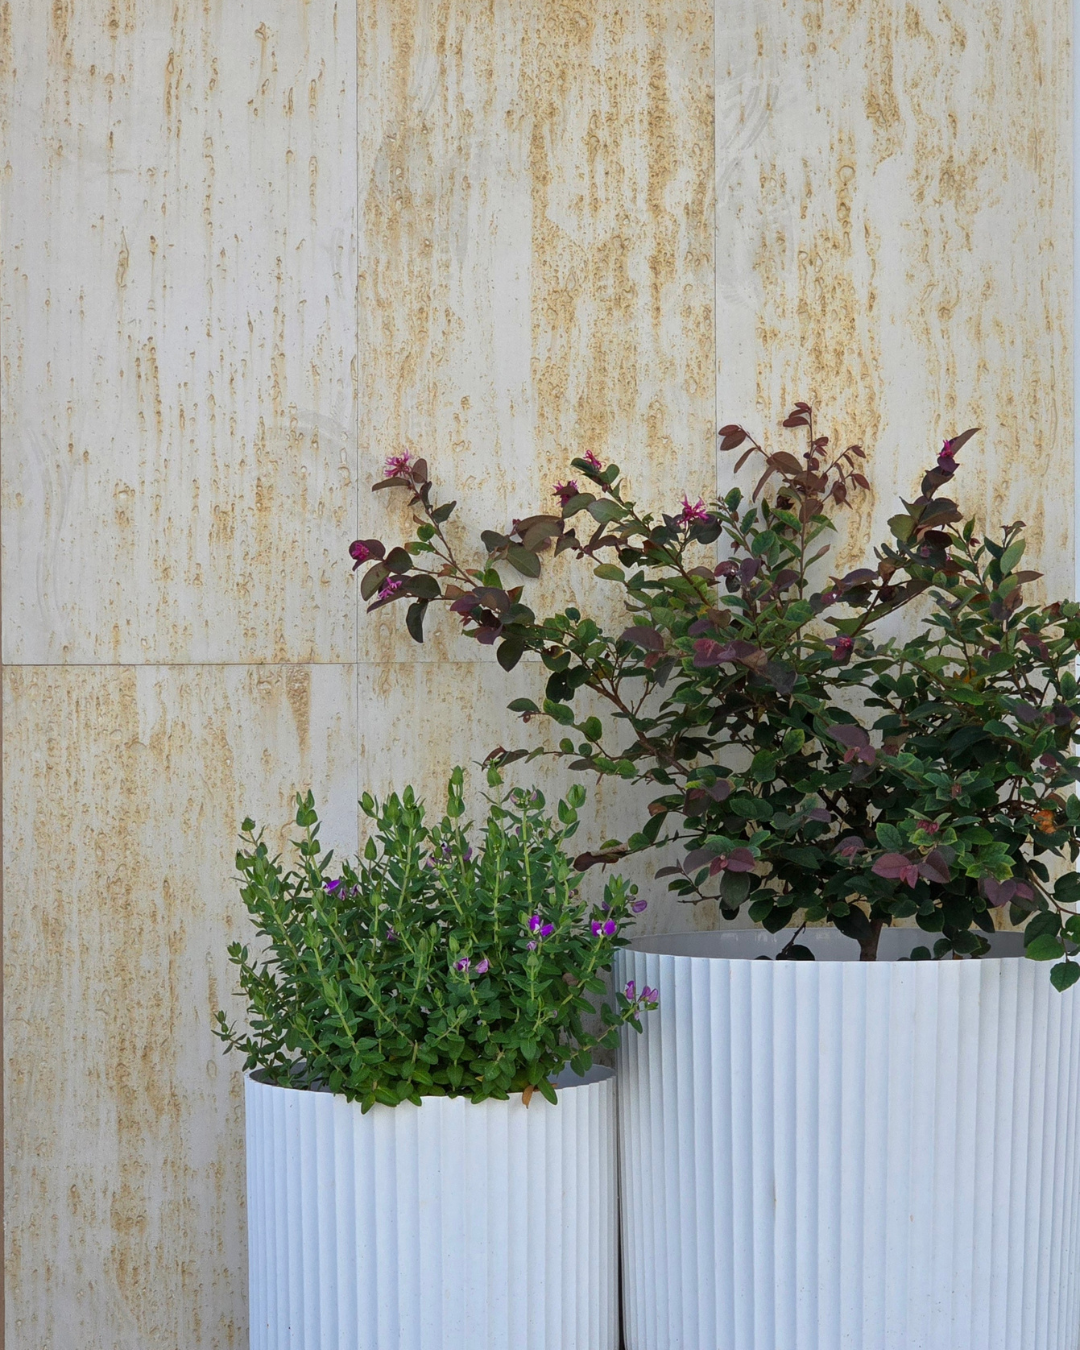
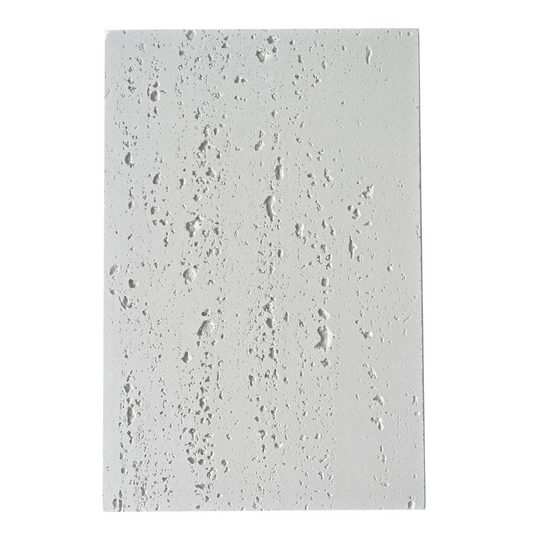
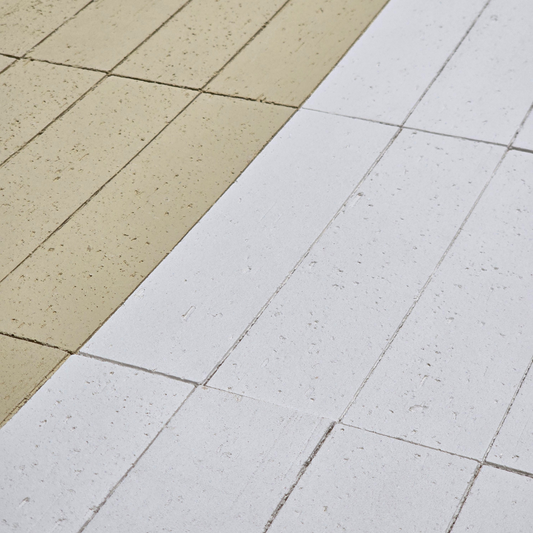
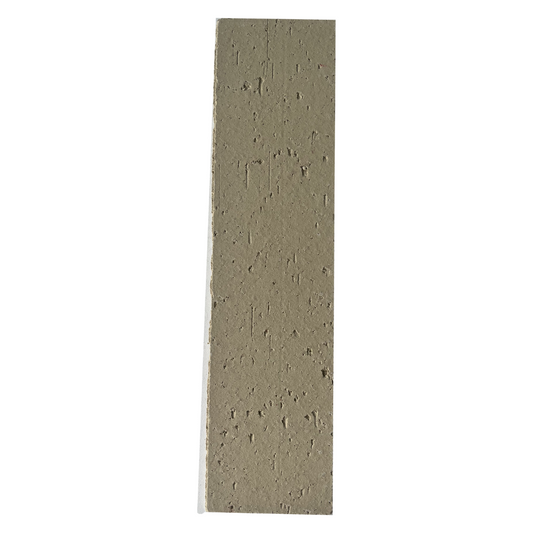
Soft Stone Travertine - White
Regular price $15.00 AUDRegular price -
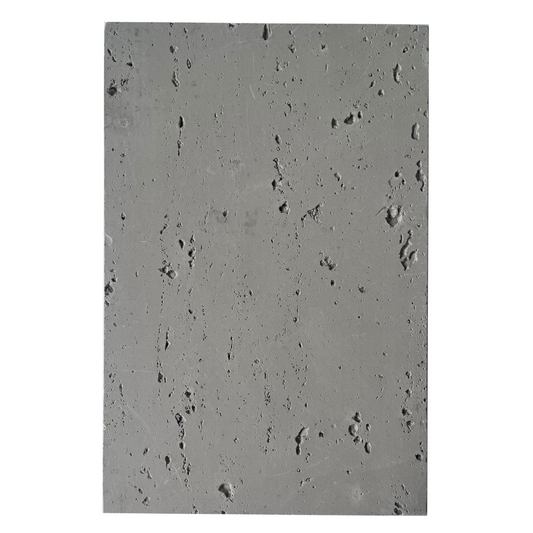
Soft Stone Travertine - Grey
Regular price $15.00 AUDRegular price -
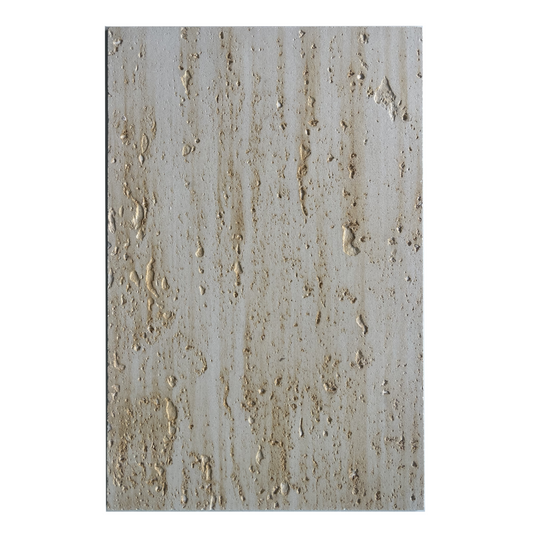
Soft Stone Travertine - Beige
Regular price $15.00 AUDRegular price -
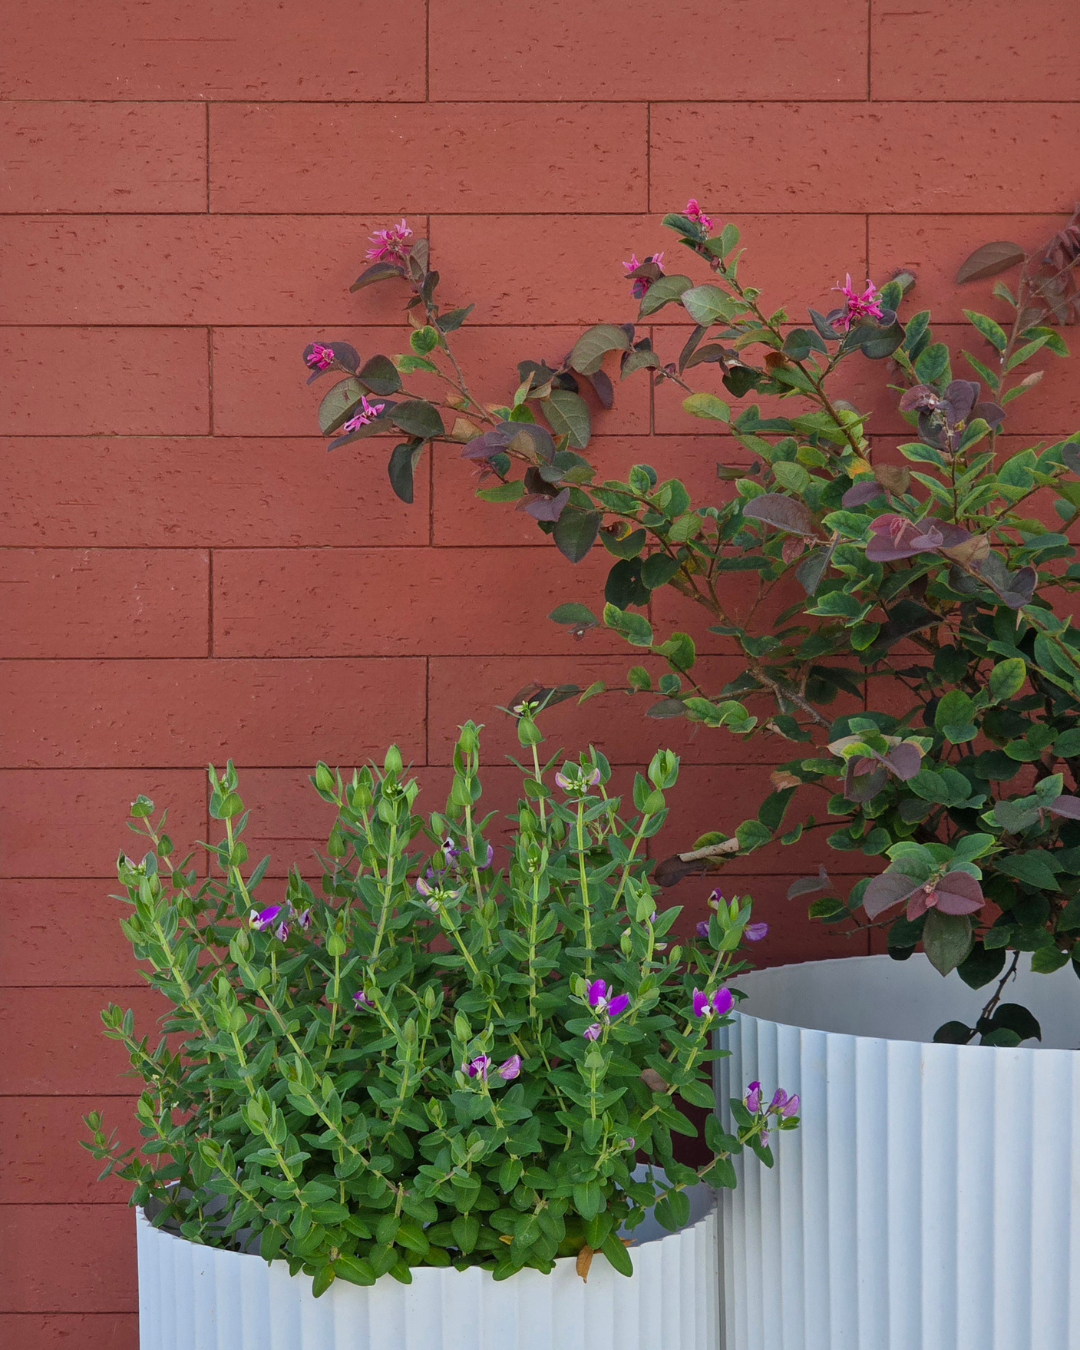
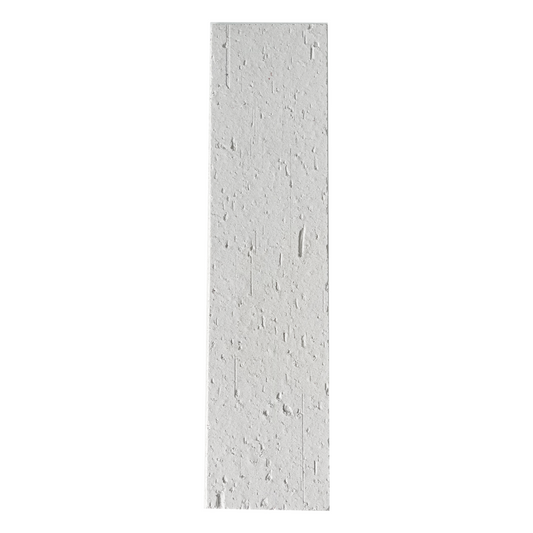
Flexible Brick Facing - White
Regular price $1.00 AUDRegular price$1.50 AUDSale price $1.00 AUDSale -
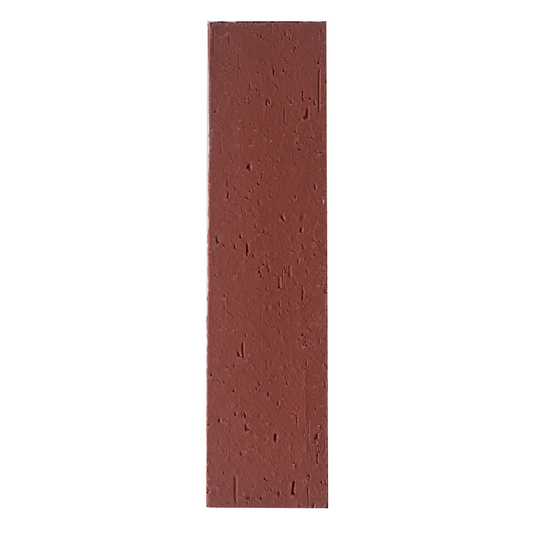
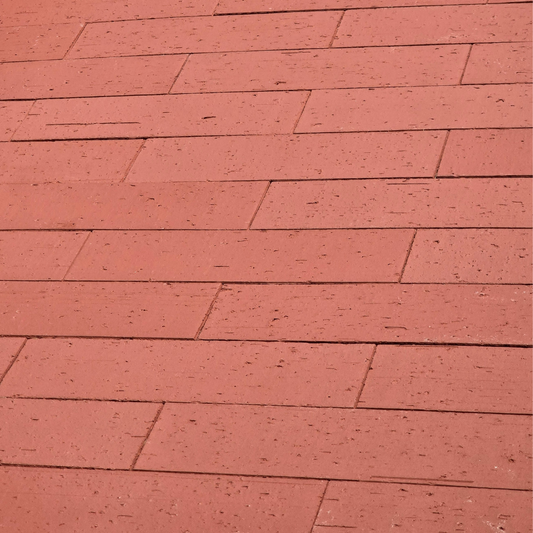
Flexible Brick Facing - Red
Regular price $1.00 AUDRegular price$1.50 AUDSale price $1.00 AUDSale -
Flexible Brick Facing - Natural Stone
Regular price $1.00 AUDRegular price$1.50 AUDSale price $1.00 AUDSale

Let customers speak for us
Worked well to cover Tilelux (asbestos ) on old bathroom walls. Easy to apply and made the bathroom feel much cleaner and look much better.

These are a brilliant product & are so easy to install - my kitchen now looks Fab!

Arrived perfect good pricing

I purchased the plank floor tiles and love them , fantastic price and customer service was amazing I have recommended this company to many. A++

Tiles look amazing
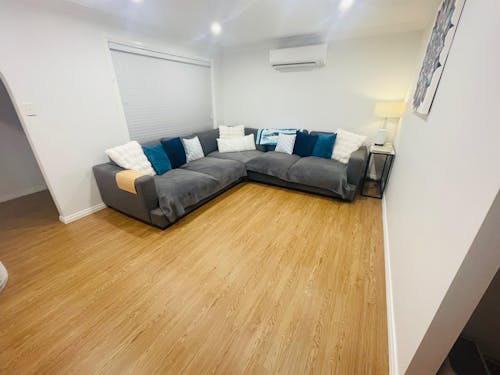
I am so happy with the wood look floor tiles. Adhesion is amazing. I also took the companies advice and finished the rooms off with a silicone bead around the edges to give it that perfect edge.
This is my first time ever doing flooring. I am now going to be doing all of my bedrooms too.
100% recommend - especially to all novice home owners who want to revamp their space on a budget and without hiring trades.
A builder friend recommended doing a chalk line to line up the first row. Because of that all of it went on straight all the way through to the next room.

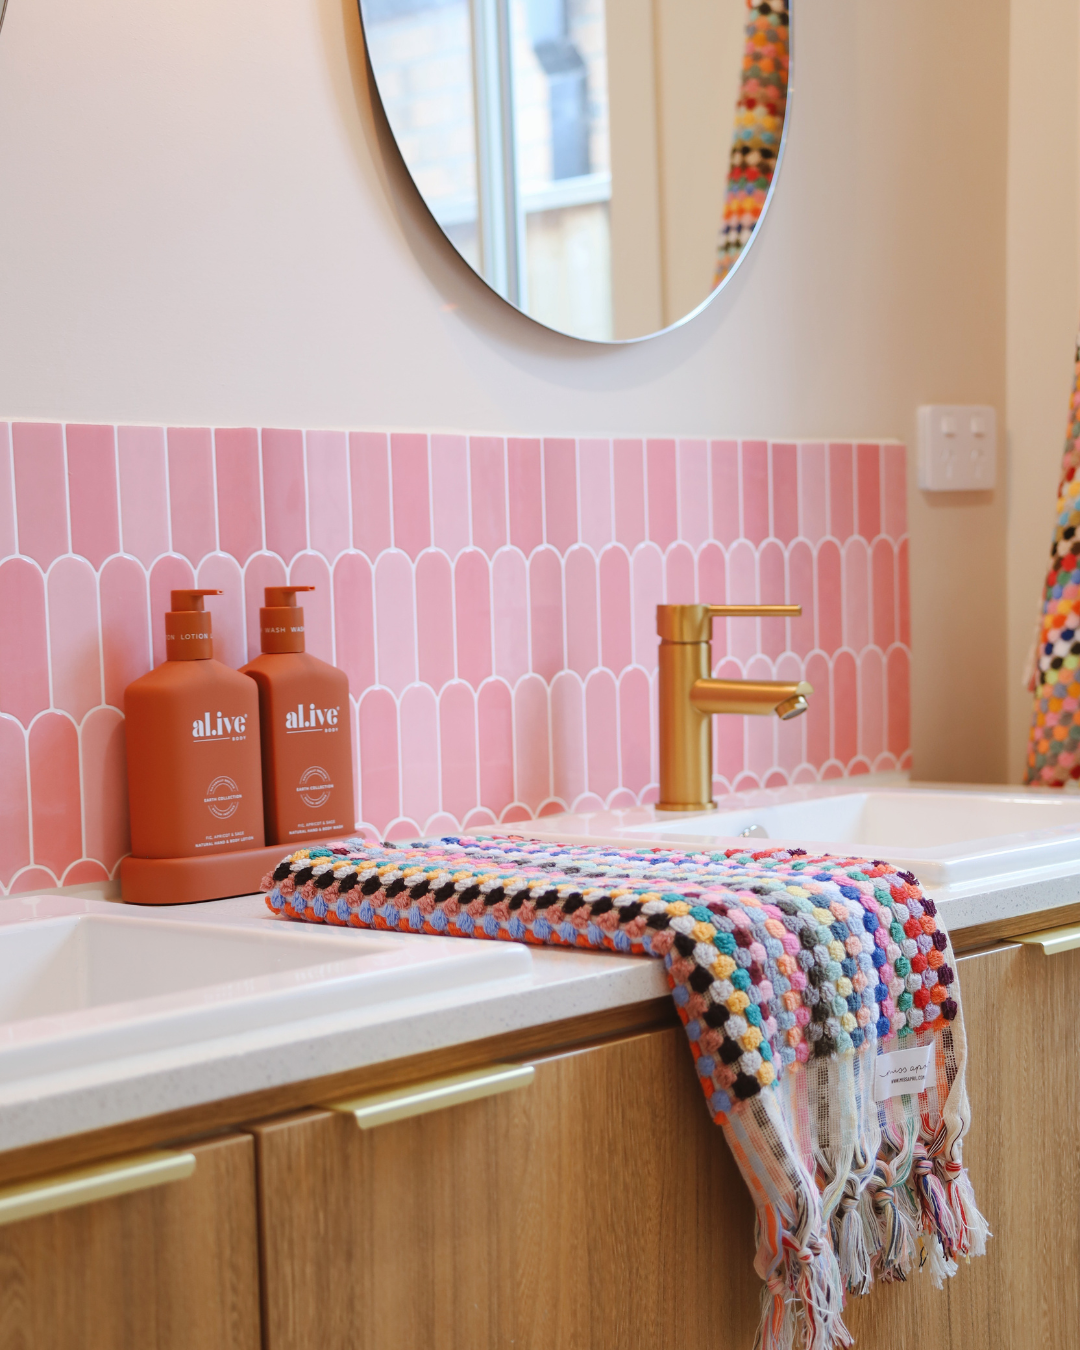
Love this tile pattern it looks fantastic
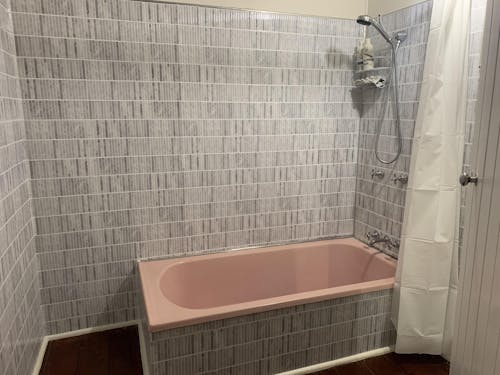
The look incredible on my bathroom floor

Received my sample pack in a couple of days and looking forward to renovating my bathroom. The customer service has been personal with the aim of making sure that I am happy with the product and have all the information I need for a great result. Very unusual these days and much appreciated.

Absolutely amazing, I’ve used cheap versions before and they are nothing compared to the quality of these stick on tiles
Very happy with my purchase

Stick on tiles has the best selection of modern tile looks that we could find in Australia. The fact they are a Queensland small business was just a fantastic bonus. Great product and service. We would recommend them and use them again.

Love how sturdy they are. Great option if you are not wanting to rip up tiles
Great quality, love the feel and how substantial the tile samples are. Yet to use!

Great product and great company to deal with.

Love these tiles thick and sturdy
Look forward to using them
Our Range
-
Vinyl & Composite Wall Tiles
Discover our exclusive range of custom-designed Peel & Stick Tiles in vinyl...
-
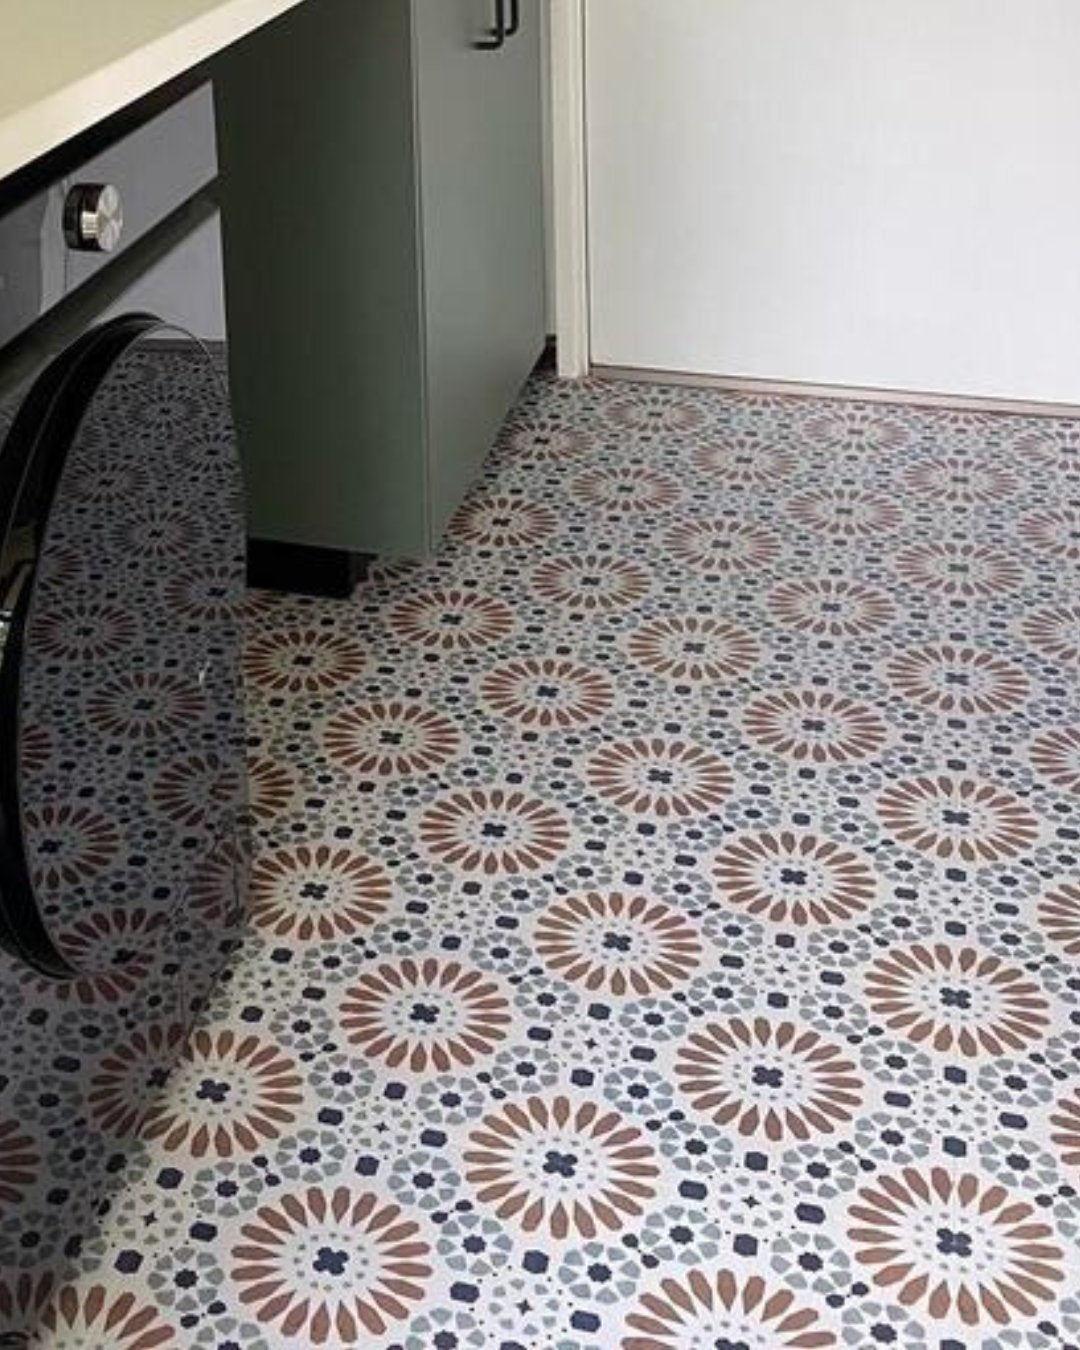
Vinyl Floor Stick on Tiles
Our Vinyl Floor Stick On Tiles are made from durable PVC, offering...
-
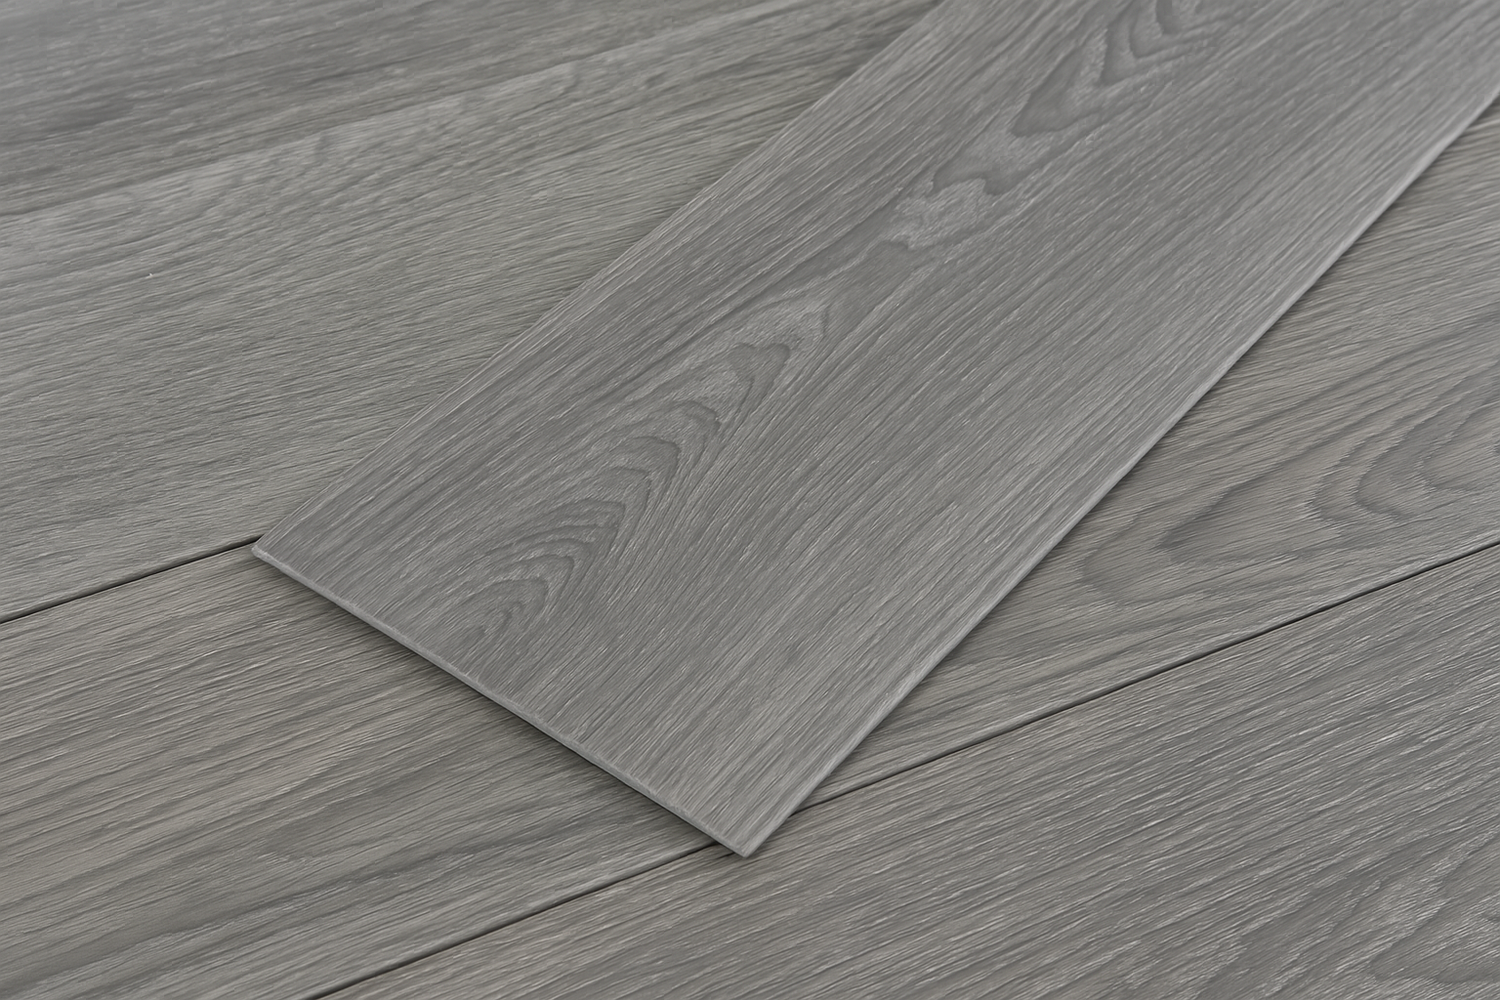
Vinyl Floor Planks
Transform your space with the timeless appeal of timber—minus the cost and...


